One of the things that gives Blender its reputation of having a large learning curve is it is geared towards animation. It has a lot of extra features or capabilities we don’t use for 3D Printing.
Or do we?
Homesick for the Appalachian Trail, I embarked on making rhododendron themed drawer pulls. It was a Blender animation feature helped me pull off my vision. I had never heard of “Particle Systems” before and with good cause. They are typically used for animating dust, smoke, water, and hair. Thanks to a wonderful tutorial video by Blender Facile, I learned how I could also use this feature to convert a single flower model into the trademark ball of flowers for the rhododendron.
My steps for using the Particular System were:
- First, I made a model of an individual flower. Thinking about how I wanted this to be sturdy for people to grab, I kept the petals thick and shallow.

- To convert my single flower into a ball of flowers, the first thing I did was add an Ico Sphere with 2 subdivisions to my Blender project.
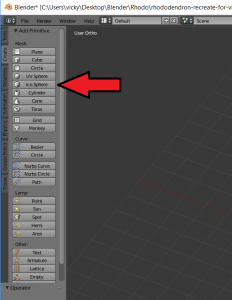
- I went ahead and removed the bottom half of my Ico Sphere and gave it a flat bottom.
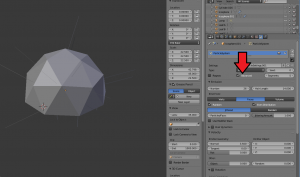
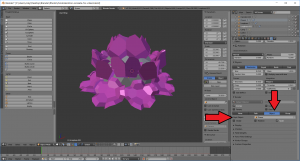
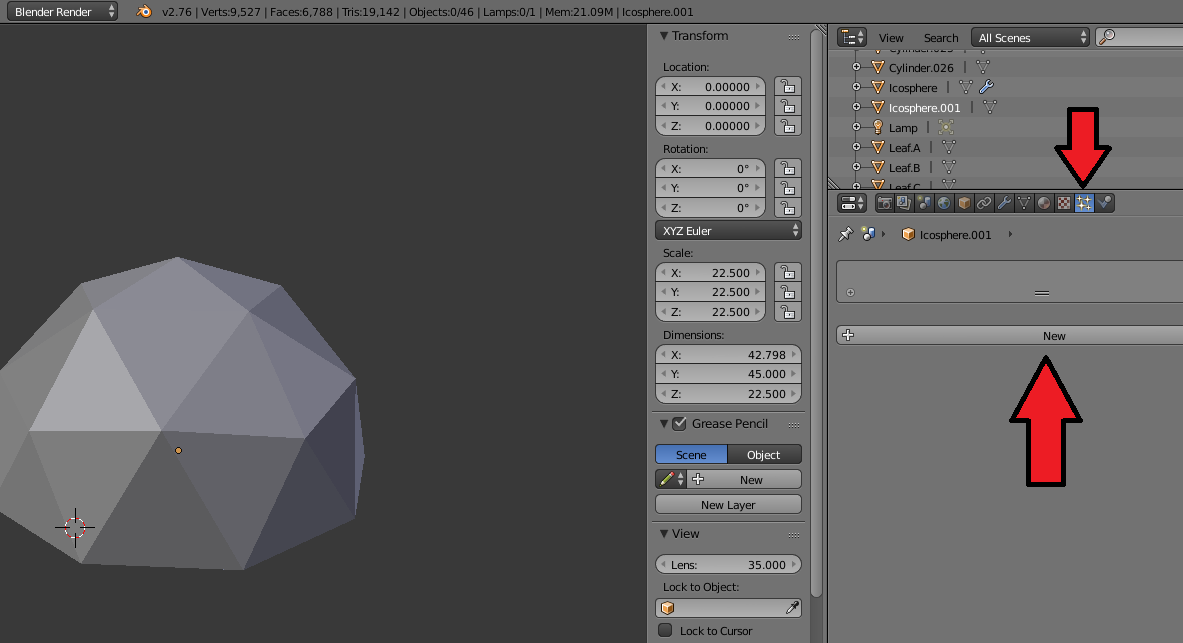
- Once I was satisfied with my Ico Sphere, I clicked on the Particle Systems icon
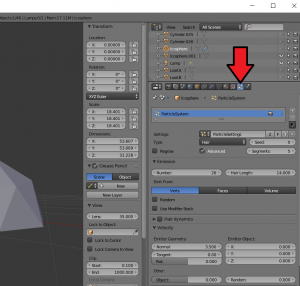
- I clicked on New to create a new Particle System
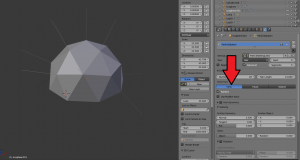
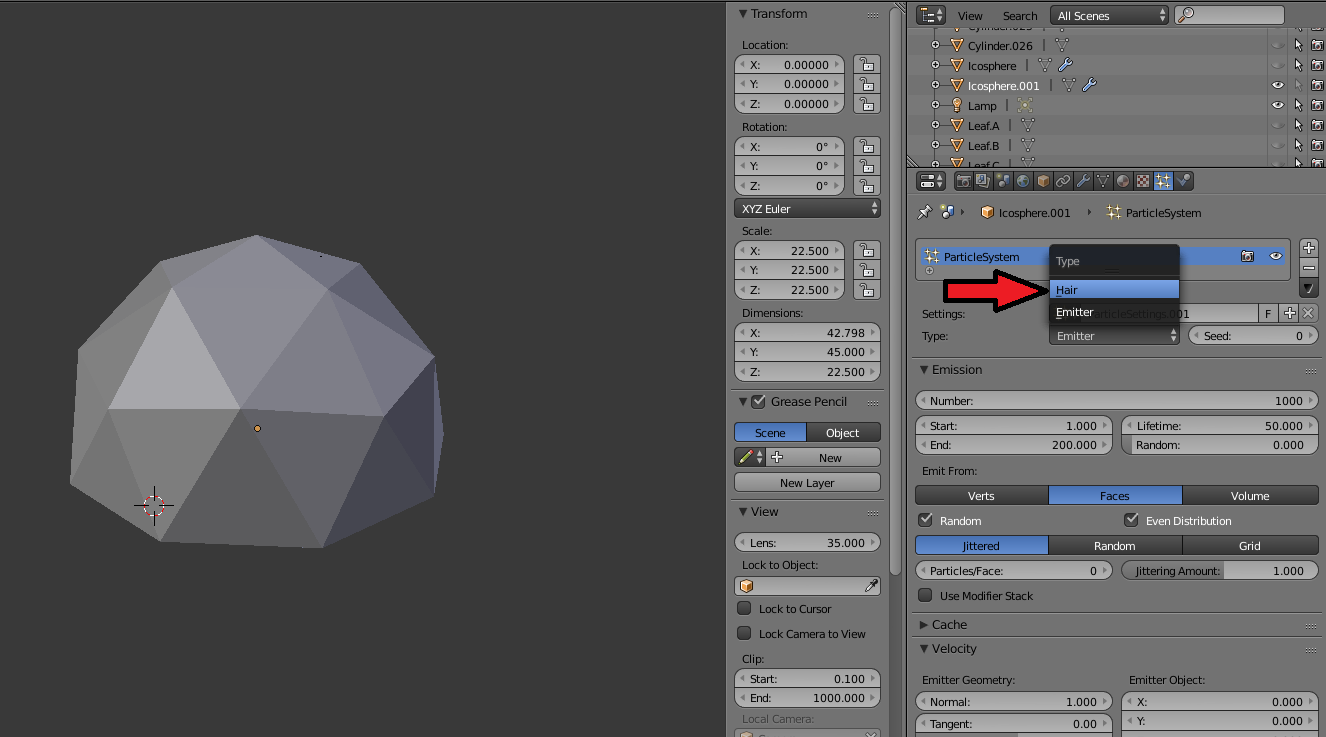
- I changed Type to “Hair”
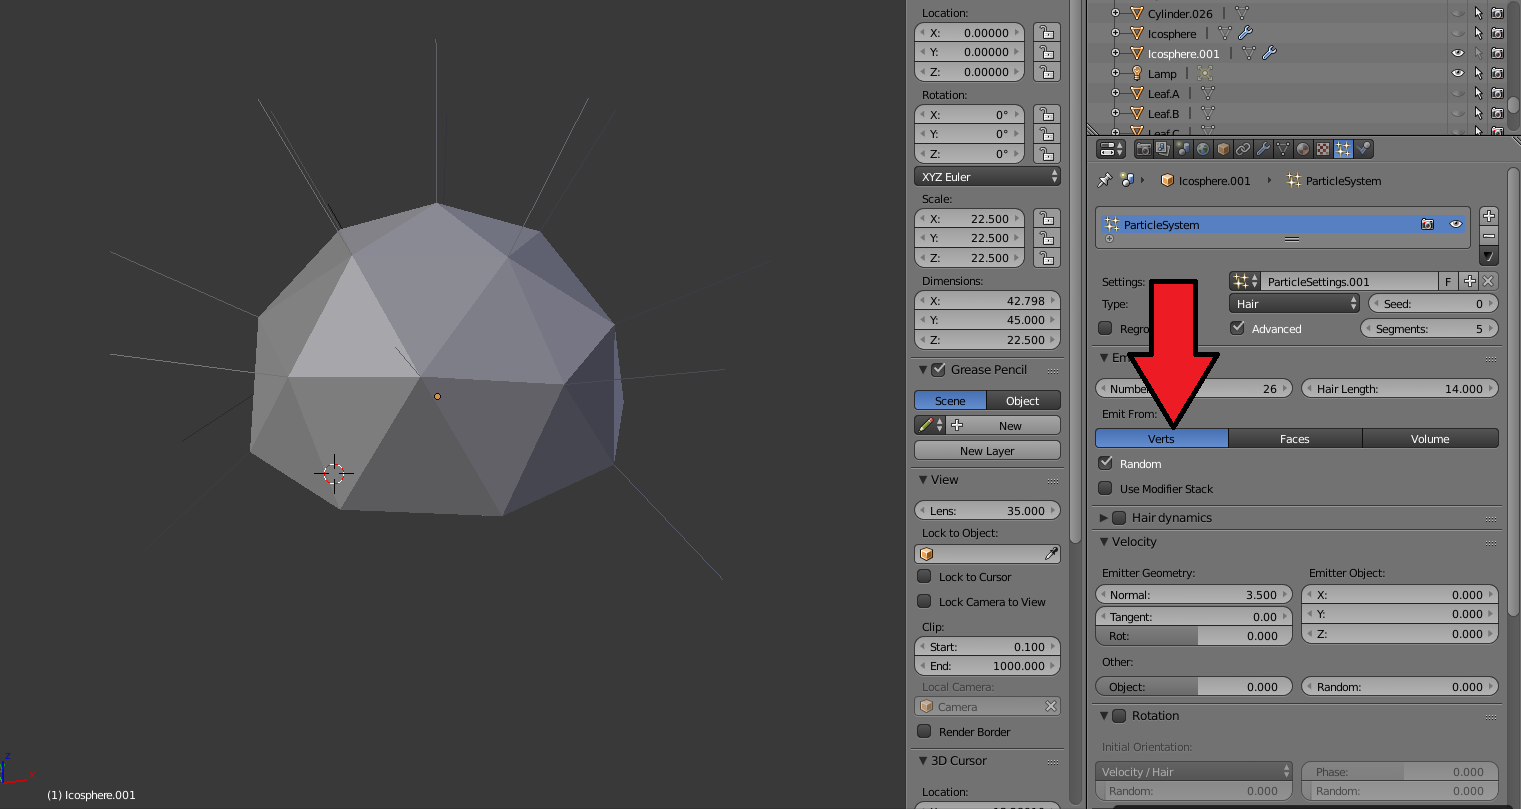
- I checked the Advanced box which would allow me to change some rotation settings later
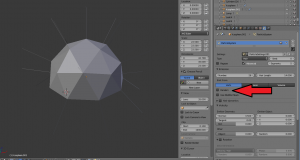
- Under the Emissions section, I clicked Verts. This is telling Blender that each “hair” (aka flower) is going to be associated with a vertex in my model. For Number, I put in 26. This just happens to be the number of vertices in my modified Ico Sphere.
I also unchecked the Random box.
- Under the Rotation section, I first checked Rotation and then for Initial Orientation, I picked Normal. The system is going to rely on my Face normals (the direction my faces are) to determine which way to rotate my “hairs”.
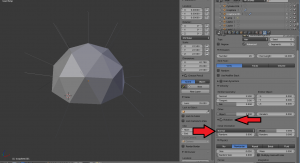
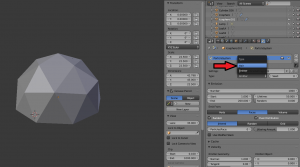
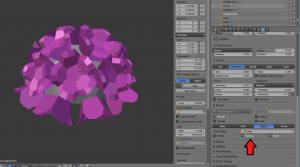
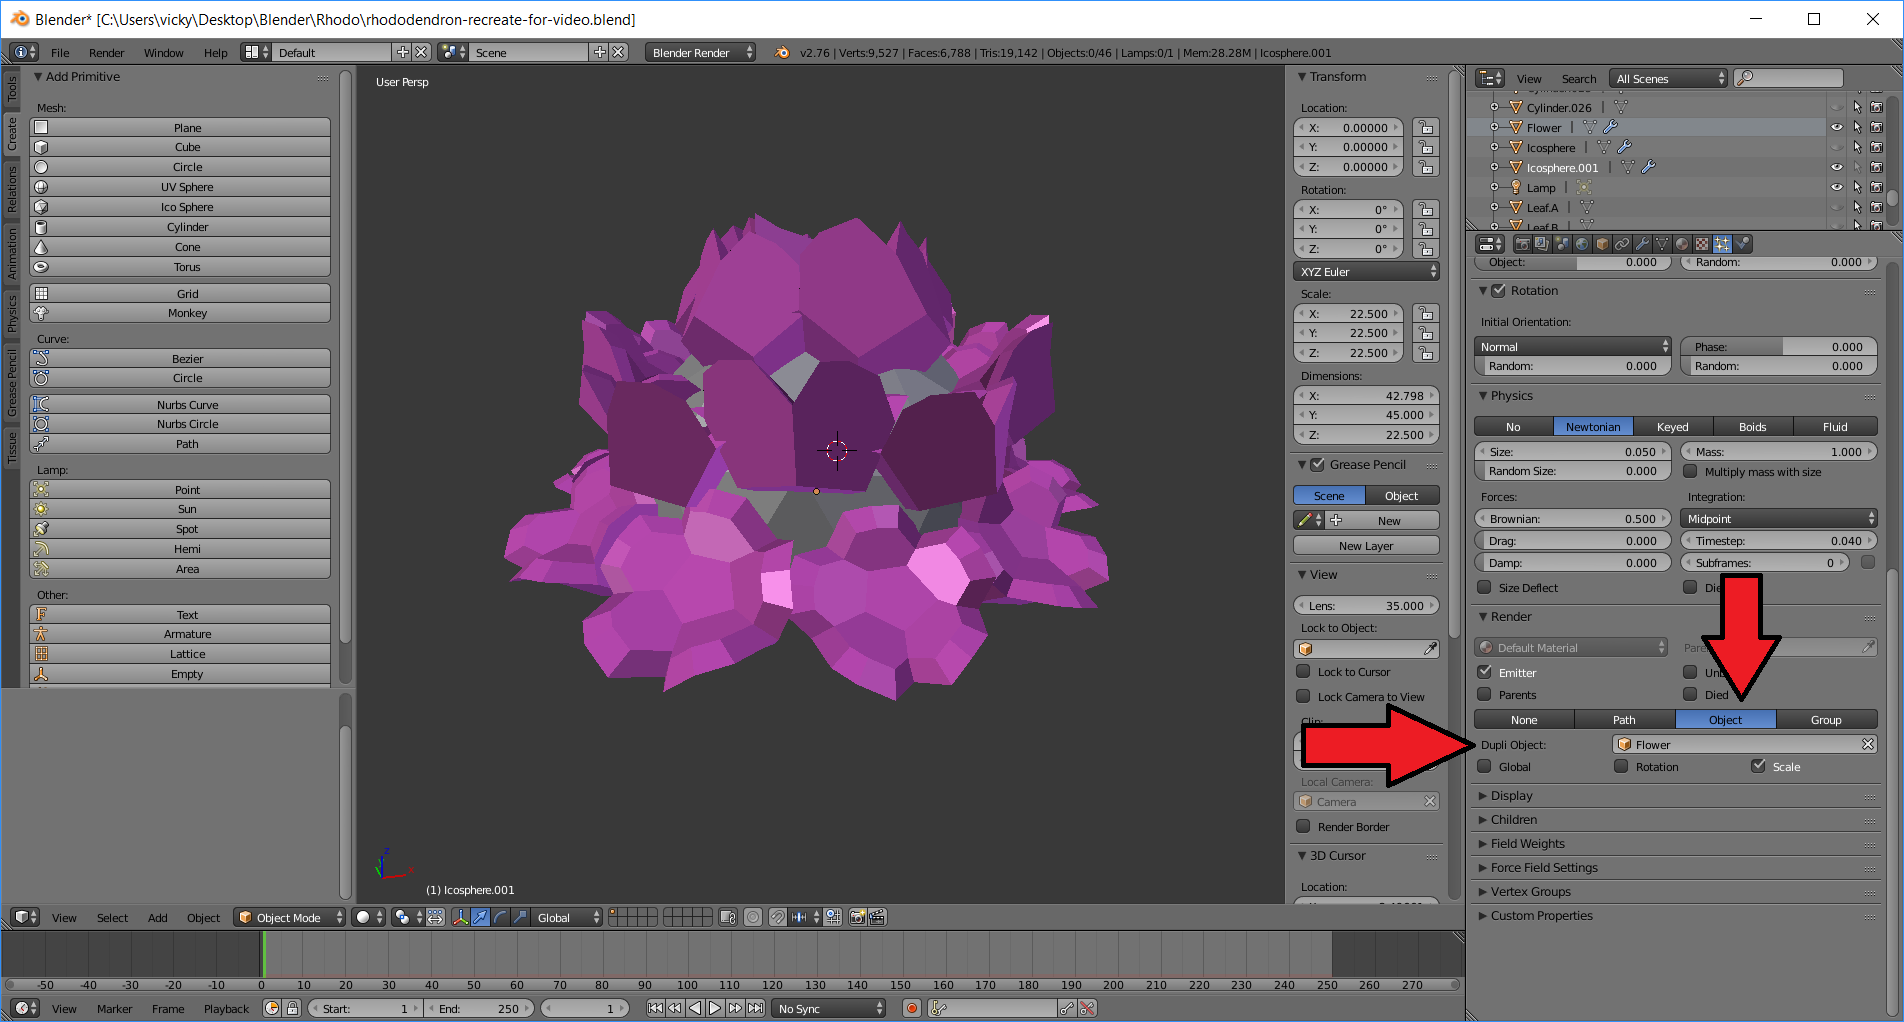
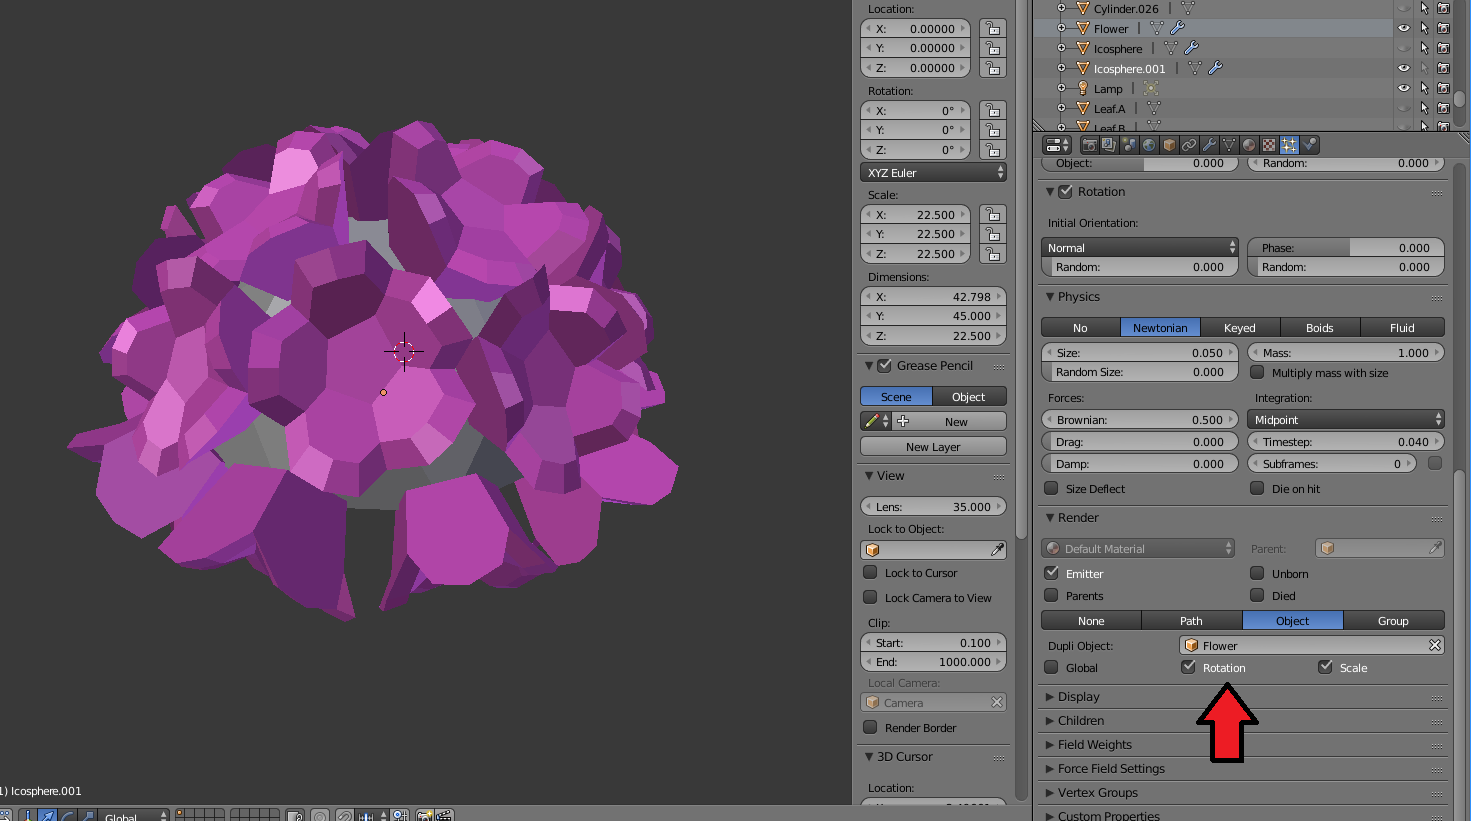
- Under the Render section, I picked Object and for Dupli Object, I selected the single Flower model I made. And then my flowers appeared on my sphere.
- Under the Render section, I checked Rotate and my flowers oriented themselves accordingly.
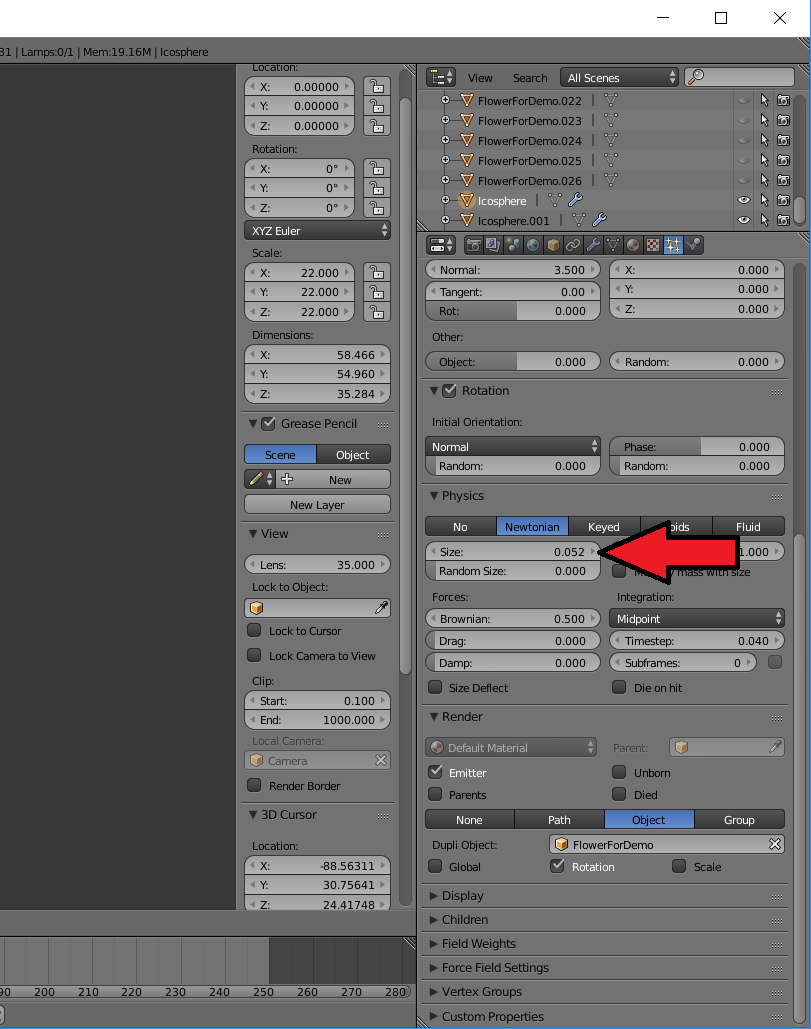
- Since this is a feature geared towards animation, there is a large Physics section that really does not apply to my purposes. The one thing I did play with was the Size. By adjusting this setting, I was able to get my flowers to a size that provided some good coverage over the Ico Sphere.

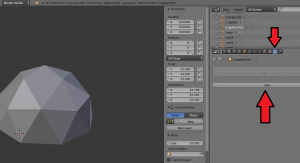
- Once I was satisfied with all my settings, I clicked on the Modifiers icon and clicked on Convert.
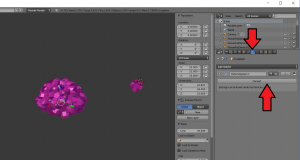
- All of my “hairs” (aka flowers) became official objects in Blender. I was able to click on each one and manipulate it like any other Blender object. For example, I went ahead and rotated my bottom row of flowers to better achieve the look I was going for.

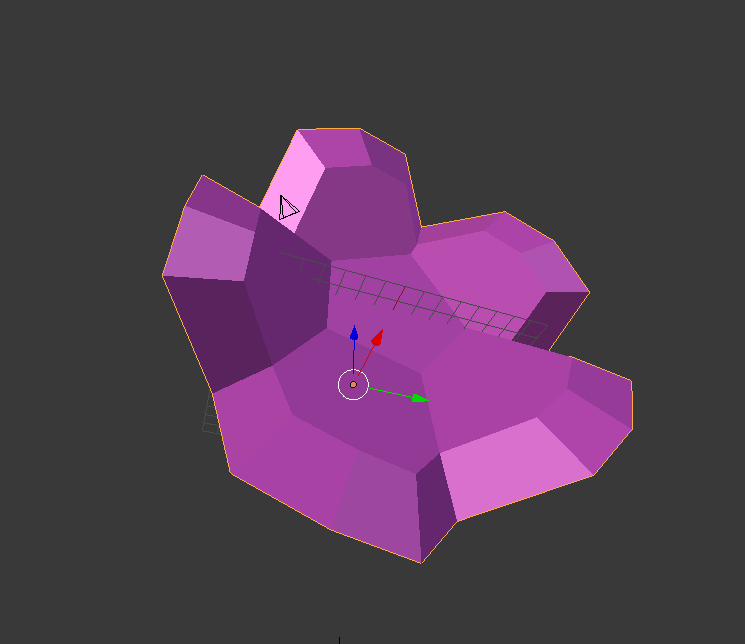


Eureka! I had my ball of flowers! My modeling journey was far from over, but the hardest part about that journey was done, thanks to an animation feature I never thought I would need.