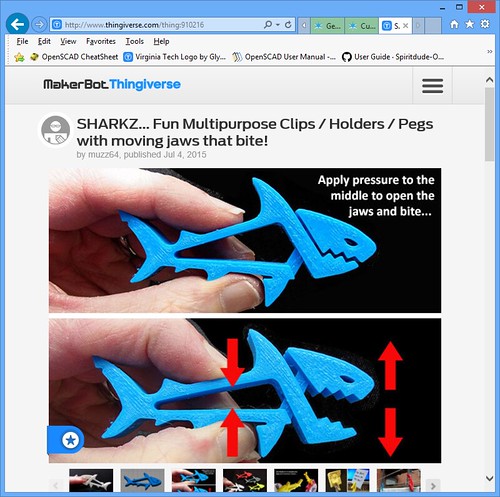
My intent when I woke up in the morning was to do my reprint of the Mobius Strip USB Holder. As I perused reddit over my morning coffee, however, I found a delightful little tangent– Sharkz from Thingiverse user Murray Clark. It’s a small object, so it is a fast print. It prints without supports and it moves. It can function as a little bag clip…or clothes hangers…or I even saw one maker using them as clip on earrings.
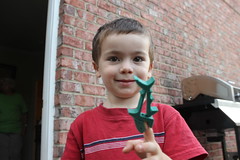
I have a four year old and a two year old and imaging their faces playing with the Sharkz was just too tempting to resist. The four year old in particular. He’s a Sharknado fan. : )
Simplify3D Settings
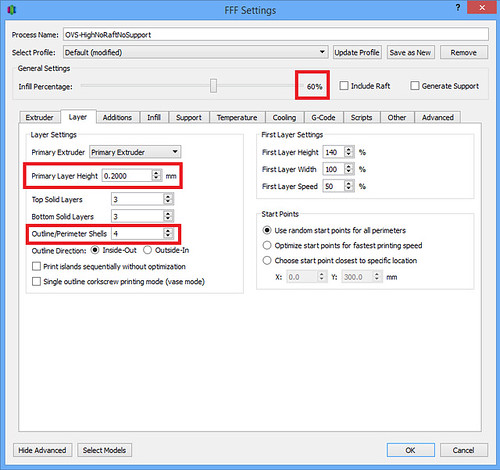
My print settings were really straight forward. Nothing fancy at all. In fact, I pretty much stole everything from the Thingiverse Instructions tab. They recommended 4 perimeters and an Infill of 60% to give the Sharkz a sturdy bite. They also recommended a layer height of 0.2 mm. Easy peasy.
- Under the Layer tab:
- Layer Height: 0.20
- Infill: 60%
- Outline/Perimeter Shells: 4
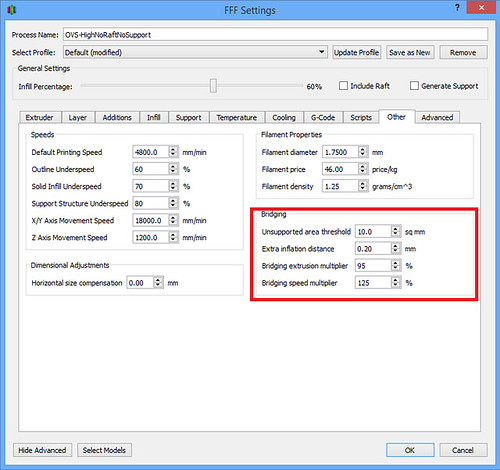
- Under the Other tab:
For my bridge speed, I used some tried and true settings I originally got from Ed Nisley’s blog when he printed the Bridge Calibration test.- Bridging Speed Multiplier – 125% (This should come out to 6000 mm/min which is 100mm/second)
Confirming Bridging Settings
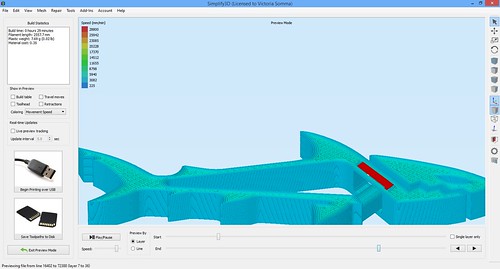
Since bridging was going to be key to the Sharkz’s jaw movement, I used my little hack to make sure my bridge settings were going to take effect. I temporary set my Bridging Speed Multiplier to 600%. I did a preview. The preview color codes by the print speed, so that made my bridge areas bright red. I changed it back to 125% and printed away.
Sharkz = Fun
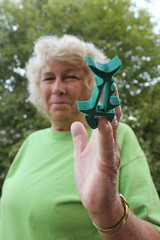
The bridges worked well and our little sharks do have quite a bite. They proved to be fun for the whole family, including my 69-year old mother.
|

|
A fun, quick little tangent.
