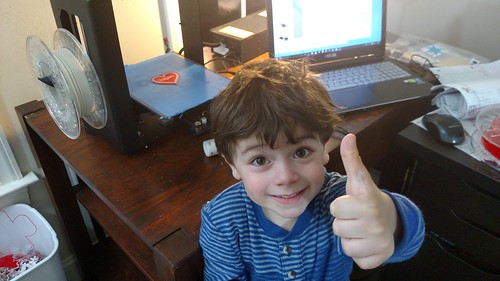
My son is named Sagan, after Carl Sagan. Over here in the U.S., that’s a unique name. As a result, he won’t be going into gas stations or souvenir shops and finding mass produced keychains and trinkets with his name on it.
Luckily, I have the MakerGear M2. I am not bound to get what someone else has decided to design and make. I can make it myself!
In my son’s pre-K class, a vast majority of the students are in the same boat– most of them have unique names. This seemed like a great use for the flexibility of a 3D Printer.
The Design
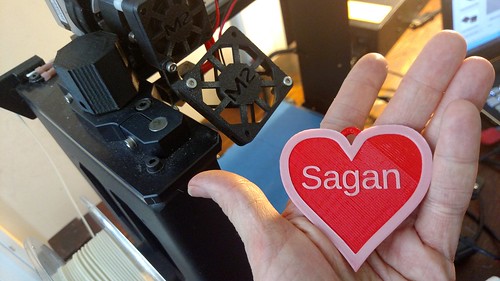
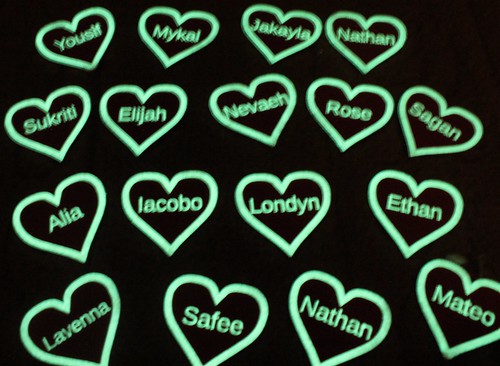
The design is not especially ground breaking. Hey, it’s a little heart pendant/medallion with a name on it. I printed most of it in ColorFabb Traffic Red PLA/PHA (duh) and then the detailing and the name are in GlowFill. One thing I have noticed with my kids is they LOVE glowing things. They love taking it into the bathroom and turning off the lights to see it glow.
Modeling – Blender
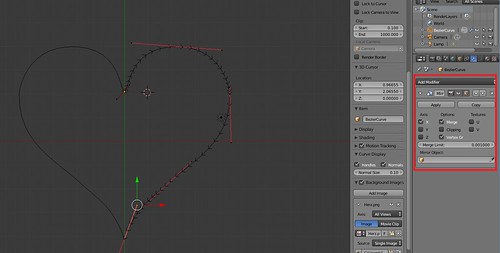
The base model I did in Blender. I started with a Bezier Curve. I used the Mirror modifier to make it symmetrical.
I converted the curve to a Mesh. 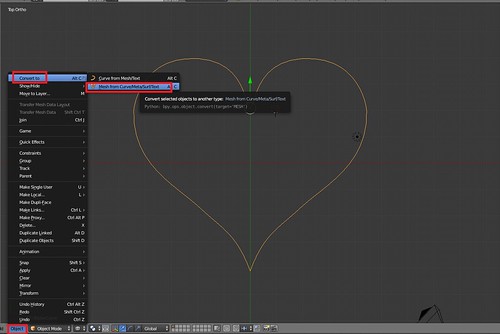
I did a little cleanup of the Vertices, by Merging a couple of oddly mirrored vertices to the center.
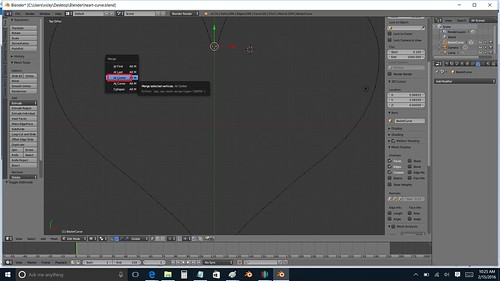
The detailing of my design, I wanted an outline of a heart in GlowFill. I’ve worked with hearts in the past and I knew that just scaling another heart down wasn’t going to do the trick. Inset is key to that!
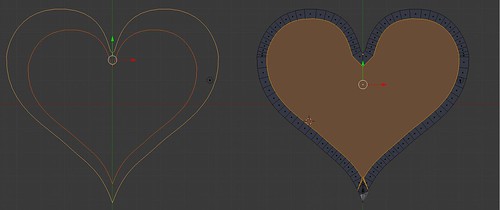
Scaling Versus Inset – Inset Will Give You Consistent Widths
I did an Inset of my face and did some manual cleanup of the vertices.
After that, it was just straight Extrusion to the heights I wanted.
The hook was just a cylinder subtracted from another cylinder (courtesy of the Boolean Modifier). I decided to keep the hook separate in case anyone wanted to print just straight up hearts.
At the end of my Blender session– I had two .STL files — my heart and my hook to make it a medallion.
Modeling – OpenSCAD
Although I had experimented with Python scripting for Blender roughly a year ago, OpenSCAD seemed easier and quicker for me. There is an Import command in OpenSCAD where you can pull in STL files. I went ahead and brought my Blender STL files into my OpenSCAD project and set a variable name for the “Child’s Name”. I was then able to rapidly run through and create 17 models for all my son’s classmates.
child_name = "Adela";
font_size=10;
y_offset=-4;

union()
{
 translate([30,10,0])
   import("heart.stl", convexity=10);


 translate([30,10,0])
  import("hook.stl", convexity=10);


translate([30,y_offset,2])
linear_extrude(height=0.7)
    text(child_name, halign="center", size=font_size);
}
Slicing and Printing – Simplify3D and MakerGear M2
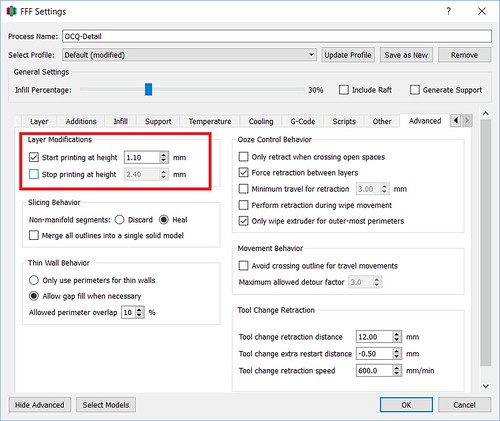
I printed on my trusty MakerGear M2. Since I have a single extruder machine, I used Simplify3D to set up two processes to print my heart:
Red
From 0.0 – 1.0mm, I printed in ColorFabb Traffic Red PLA/PHA. I printed in 0.25mm layer heights.
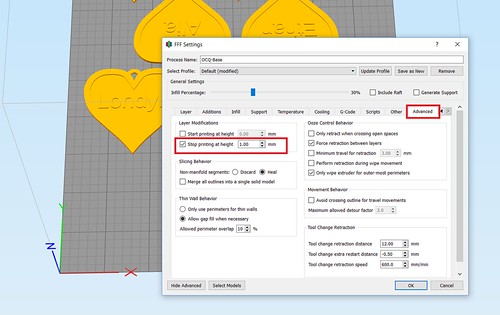
GlowFill
From 1.1 – 1.7mm, I printed in ColorFabb GlowFill. I printed those in 0.10mm heights. Usually I have found with detailing 3 or 4 layers were sufficient. In this case, because the GlowFill was a little translucent, going up to 6 and 7 layers made sure the text appeared more crisp and white. (It also gave me a little more leeway to recover if an edge came unstuck from the build plate).
Quick Tip
And a quick tip. Sometimes parenting is harder than 3D Printing. When I printed my first batch of hearts, I was quite pleased. I showed my son and was ready for a positive response. It did not go well. I..uh… I kinda didn’t include his name in the first batch of hearts. He can read and he was quite miffed when he did not see his name. Luckily, I started an emergency print and was able to get back on his good side. But you can avoid such drama. Make sure to print your kids’ in the first batch. : )
On Thingiverse!
If you covet a heart for Valentine’s Day or a special occasion, I was able to make a Customizer on Thingiverse. Feel free to make your own.
2 thoughts on “Personalized Glowing Valentines for Kids”