Ha! I have had not one but TWO YouTube commenters point out that my Spool Holder on the Wanhao was backwards. I did a Google Image search and sure enough– it appeared I was the only person in the entire world that had mine pointing towards the outside of the machine.
I felt a little relieved when I looked at the Quick Start Guide. At first glance the image made it look like I wasn’t a complete trail blazer. When I looked at the picture, I saw the spool holder pointing outwards…. like mine.
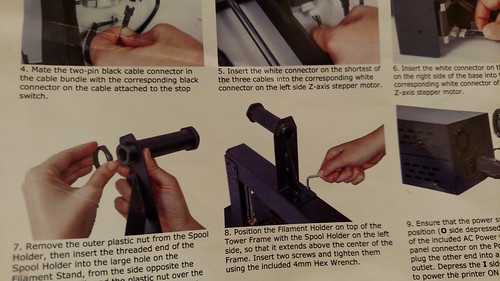
But when my husband looked at the picture, he saw it differently. It’s the angle of the image. It is pointing to “outside” of the machine— but the other side. So it is still pointing to the center like the rest of the Wanhao User Base.
When I decided the Wanhao was going to be accompanying me to the Maker Faire Nova, I decided it was time to make a correction. First thing in the morning, I got out an allen wrench and made the switch.
I am now assimilated! 🙂
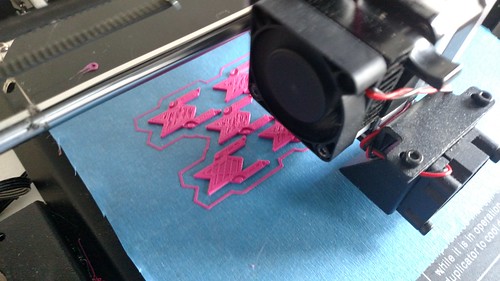
(And I think my filament is going to thank me for it)