Print Diary – July 29th – Monarch Butterfly and Glowing Cthulhu

Victory with the Monarch Butterfly
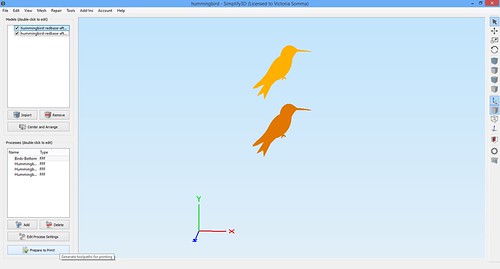
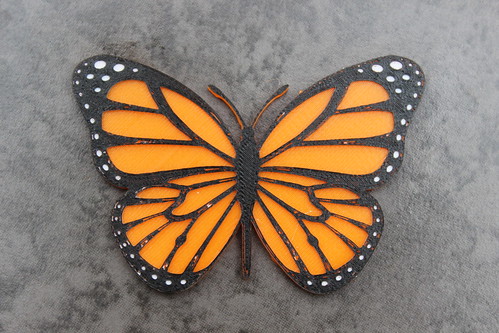
As I mentioned yesterday, I was having some trouble adapting the Public Domain Monarch Butterfly model by Liz Havlin. Although I have been 3D modeling for about 18 months, I was having some trouble achieving what I wanted– I wanted the holes of the butterfly to not be holes. I wanted the sections I wanted to be orange to be 2mm high and the sections I wanted to be white to be 2.3 mm high.
Unfortunately, I was introducing all sorts of manifold issues along the way. One day, I may look back on this and laugh at myself and my “silly ways”, but for now here’s what I ended up doing that actually worked for me.

I was able to easily make a solid butterfly that I extruded up to 2mm high– so I had my orange all set. For the white, I:

  1. Highlighted the vertices of the hole I wanted to fill.
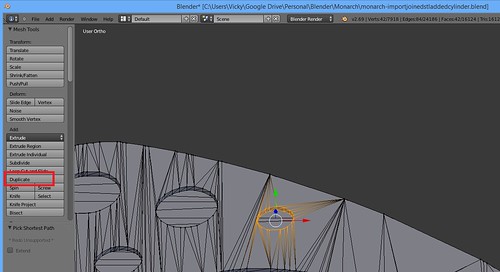
  2. Hit the Duplicate button to make copies of those vertices.
    Monarch Butterfly - Duplicate Vertices
  3. I hit escape (those new vertices were selected).
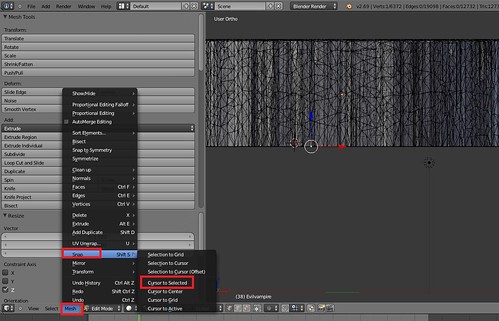
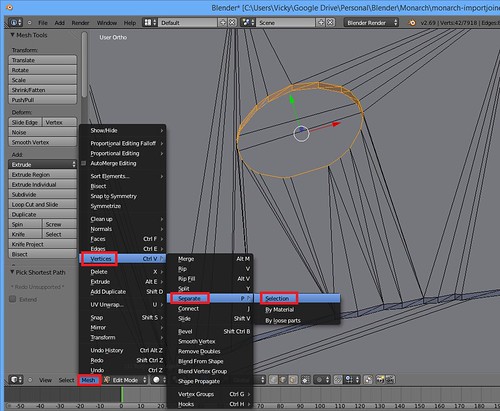
  4. Then I went to Mesh->Vertices->Separate->Selection. This move those vertices to their own object, which I filled in as a face and then extruded up 0.3mm.
    Monarch Butterfly - Seperate Menu Options
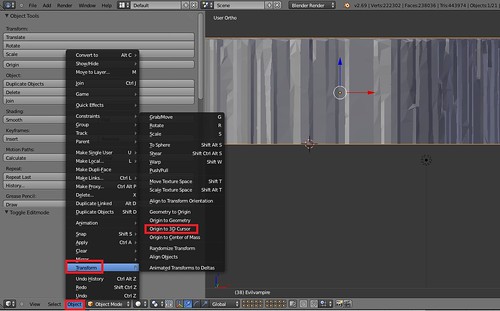
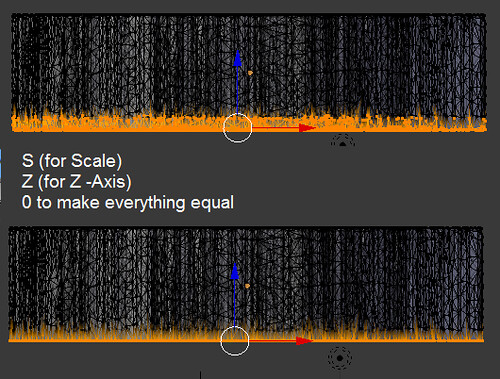
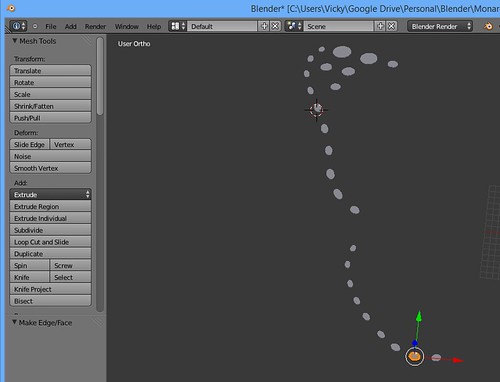
  5. I ended up with a bunch of 0.3mm high cylinders that I added to the solid butterfly (that was 2.0 mm high) and the hollow butterfly which was 0.7 mm high (making my black outline 0.4mm high)

    Monarch Butterfly - New Solid Cylinders

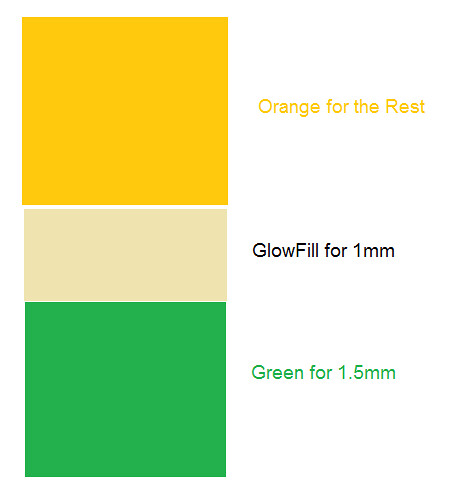
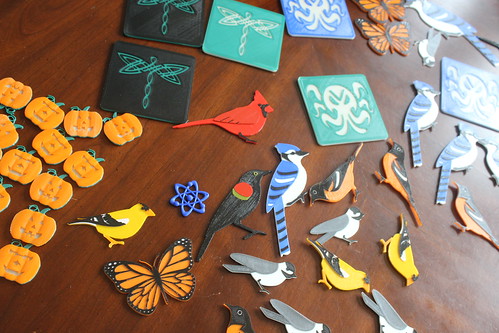
The colors are in the same height and order as the Baltimore Oriole (Orange – 2mm, White 0.3mm, Black 0.4mm), so I can print butterflies and orioles together.

Again, with future modeling knowledge I may look back and scoff at my approach. Nonetheless, I have my butterfly… and he’s beautiful!

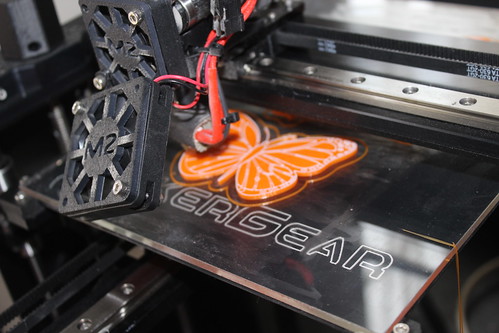
3D Printing - Monarch Butterfly in Action

3D Printing - Monarch Butterfly Magnet

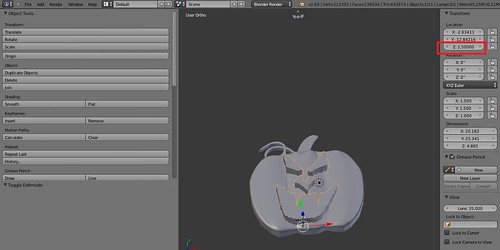
Glowing Cthulhu Coaster
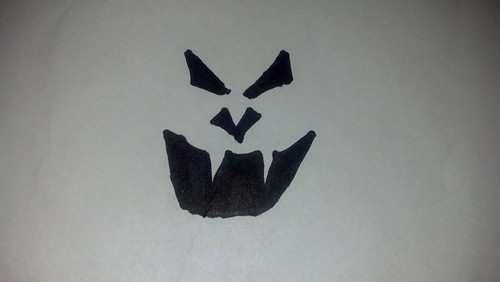
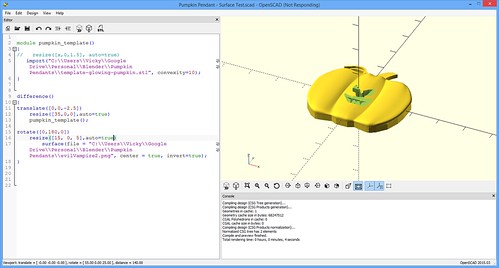
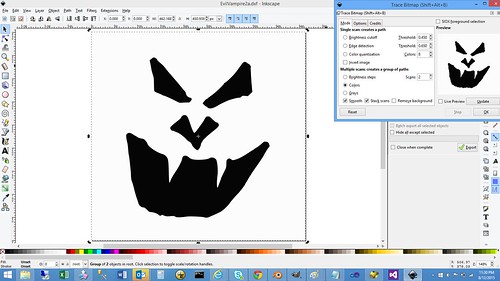
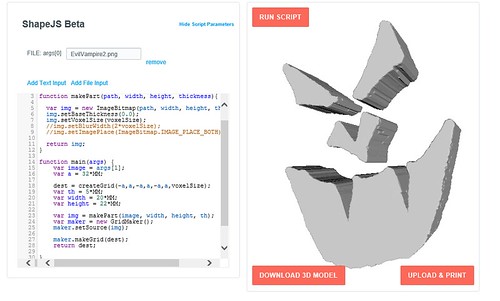
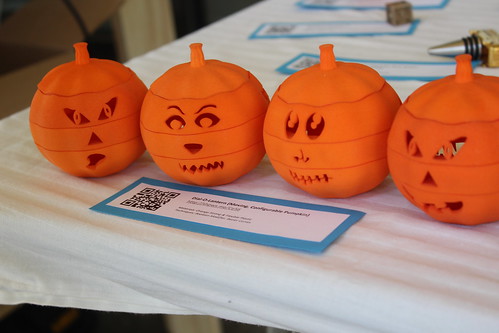
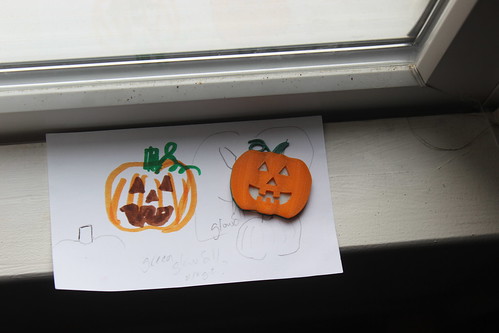
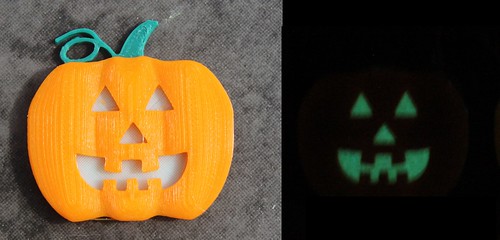
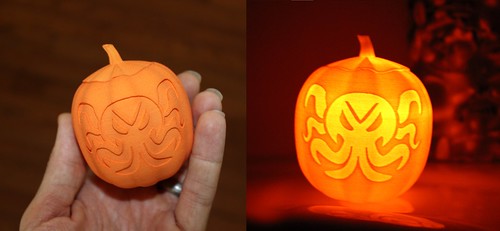
Another project I tackled was a lot easier. I have a little Cthulhu cutout I modelled for my “Glowing Cthulhu Pumpkin” on Shapeways.

Cthulhu Pumpkin in Hand and Glowing

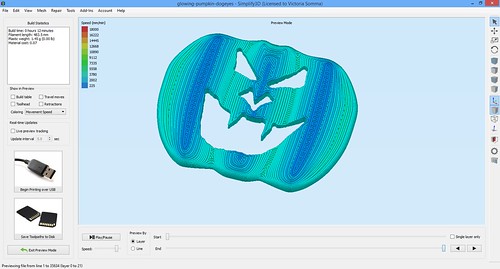
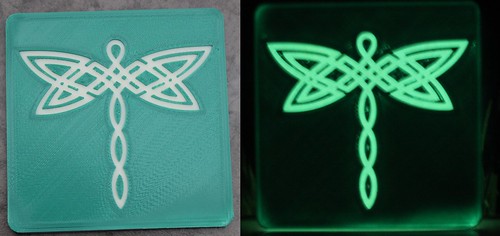
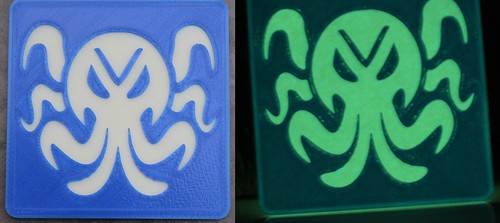
In the case of the pumpkin, an LED inside provides the light. I decided to see what ColorFabb’s GlowFill could do. I went ahead and took that same cut out I drew and modelled and carved it out of a small beveled cube to make a coaster. I printed the first 2mm in GlowFill and then the top in a solid color. I am pleased with the result. Not only does Cthulhu glow, but the border around the coaster glows as well. A win.

3D Printing - Glowing Cthulhu Coaster (Blue) - Before After

Print Diary – July 28, 2015 – Spinus Tristis…. and an Ass-Kicking Danaus plexippus

Greetings! I’m currently prepping for a business trip, so this will be a quick entry.

American Goldfinch
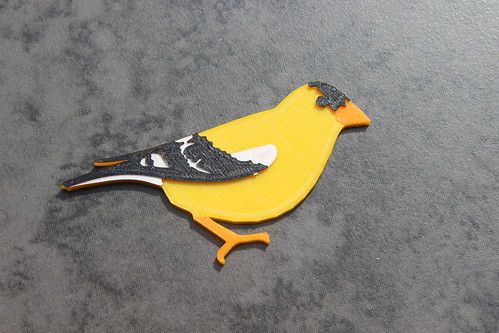
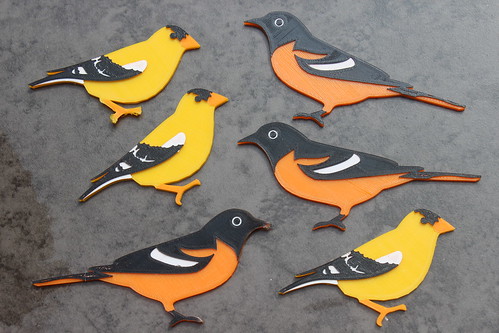
I have a new 3D Printed bird to my collection. Spinus tristis, otherwise known as the American Goldfinch.

3D Printed Birds - Spinus tristis (American Goldfinch)

He’s my second favorite bird at the moment. I’m thinking of simplifying the white patches on his wings to make him match my FIRST favorite bird from the MakerGear M2– the Baltimore Oriole.

I’m getting quite a collection of little birds. : )

3D Printed Birds - Goldfinches and Orioles

Gah – Monarch Butterfly
I had this grand idea to do a Monarch Butterfly– it has the same color scheme as the orioles so I figured I could print them together. I stumbled upon a lovely Public Domain model by Liz Havlin. LOVE. It is exactly what I was envisioning, only prettier!

I thought I would just update the model a bit, to solidify the back and then add different face heights for my orange and white layers. Easy, right?

Well….

It’s been kicking my ass. And it’s not Liz’s model– her work is perfect, water-tight, non-manifold. I’ve been introducing issues to it when I add and extrude new faces. Gah. I will be victorious… just not tonight. : (

Print Diary – July 27th – The Baltimore Oriole and USB Mobius Strip Holder

Today was an eventful day with the printing. I had no slicing or modeling challenges or obstacles. Just straight up printing.

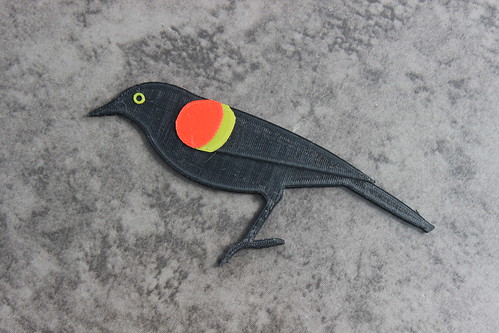
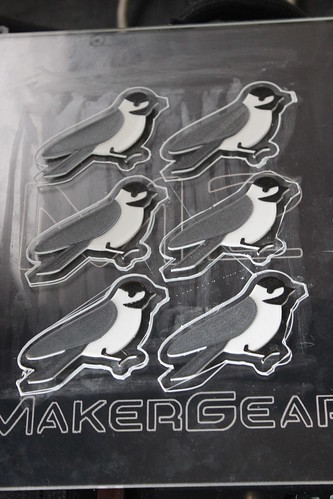
With switching out the filament during the print, I got to see my Baltimore Oriole come to life!

3D Printed Birds - Oriole in Action - After White Layer, the Black is Just Starting

3D Printed Bird - Oriole

And then for a “mindless” print so I can get my day job done, I reprinted my USB Mobius Strip. The only real adjustment I made from the first print was not putting supports with in the USB slots. LOVE. Now hopefully I won’t use my USB keys as frequently. (There are only two pictured because…well… I can only locate two of my USB keys, emphasizing WHY I need this in the first place).

3D Printing - Mobius Strip USB Holder

Embedding Shapeways’ 3D Viewing into Blogs and Webpages

Shapeways Labs has a 3D Viewer Embed Tool where you can generate the embed code for your blog or website. Unfortunately it looks like one of the site upgrades may have broken that tool. When I tried it out this morning, I noted that I was getting an error in the preview. When I took a closer look at the embed code, I could see there isn’t a model number listed.

Shapeways Embed - Missing Model

Until they get it fixed, if you covet a Shapeways 3D Viewer in your blog, the steps are as follows.

  1. Go to your product page and select the rotating 3D Viewer to view.
  2. Right click on the render and select Properties
    Shapeways Embed - Properties of Render
  3. Copy what is in the Address (URL) section.
    Shapeways Embed - Address (URL)

Your embed code will look something like:

<iframe src=”https://images3.sw-cdn.net/3dviewer?model=3299708&v=1&key=235bd7d3726bd3a78577cda213f465cc” width=”482″ height=”357″ frameborder=”0″></iframe>

Where the bolded area is the Address (URL) you copied in Step 3 above.

To test it out– the render of my Helix Heart Pendant because it looks so super neat as it spins.

Print Diary – July 26th – Icterus galbula

On the printing side of things, I did 3 Sharkz and 2 3D Hub Marvin keychains in colorFabb’s GlowFill. I had company over, including a 6 year old, a 9 year old, and a 10 year. Of course, I had to show them the 3D Printer and what’s better for kids than GlowFill?

The 3D Printer was a hit. I knew I was really connecting with the oldest child, but as they were departing, the youngest told me, “I’m going to ask Santa for a 3D Printer… so my Mommy can save her money.”

“Thanks Vicky!” The mom joked when she heard that news.

P.S. I added some new cooling settings and now my 3D Hub Marvins are better than eva!!!

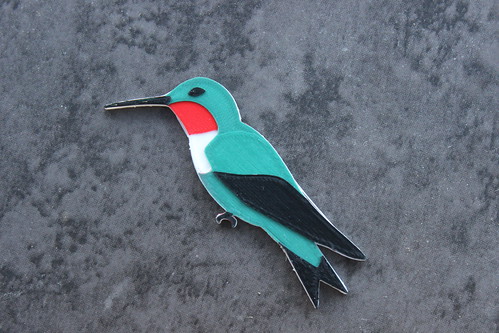
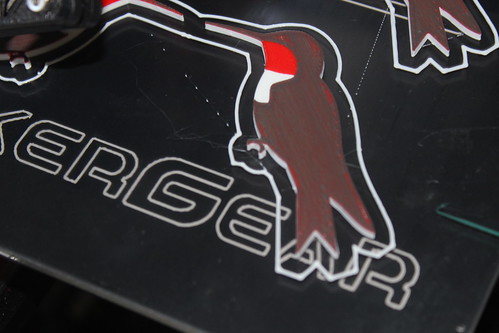
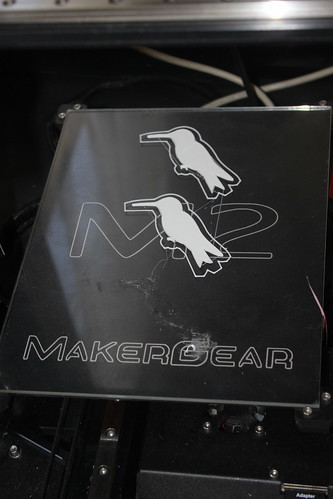
On the modeling side, I do have a working model of a new bird – Icterus galbula, better known as the Baltimore Oriole. I do reside near Maryland, but really I was drawn to this bird because my translucent orange filament is fabulous and I thought the black and the orange color combination was going to translate well to a print. We shall find out if I’m right tomorrow! : )

WIP - Oriole

Print Diary – July 24, 2015 – Fun with Sharkz!

My intent when I woke up in the morning was to do my reprint of the Mobius Strip USB Holder. As I perused reddit over my morning coffee, however, I found a delightful little tangent– Sharkz from Thingiverse user Murray Clark. It’s a small object, so it is a fast print. It prints without supports and it moves. It can function as a little bag clip…or clothes hangers…or I even saw one maker using them as clip on earrings.

Sharkz - Thingiverse Screenshot

I have a four year old and a two year old and imaging their faces playing with the Sharkz was just too tempting to resist. The four year old in particular. He’s a Sharknado fan. : )

Simplify3D Settings
My print settings were really straight forward. Nothing fancy at all. In fact, I pretty much stole everything from the Thingiverse Instructions tab. They recommended 4 perimeters and an Infill of 60% to give the Sharkz a sturdy bite. They also recommended a layer height of 0.2 mm. Easy peasy.

  • Under the Layer tab:
    • Layer Height: 0.20
    • Infill: 60%
    • Outline/Perimeter Shells: 4

    Sharkz - Simplify3D Layer Settings

  • Under the Other tab:
    For my bridge speed, I used some tried and true settings I originally got from Ed Nisley’s blog when he printed the Bridge Calibration test.

    • Bridging Speed Multiplier – 125% (This should come out to 6000 mm/min which is 100mm/second)

    Sharkz - Simplify3D Bridge Settings

Confirming Bridging Settings
Since bridging was going to be key to the Sharkz’s jaw movement, I used my little hack to make sure my bridge settings were going to take effect. I temporary set my Bridging Speed Multiplier to 600%. I did a preview. The preview color codes by the print speed, so that made my bridge areas bright red. I changed it back to 125% and printed away.

Simplify3D - Bridge Hack on Sharkz

Sharkz = Fun
The bridges worked well and our little sharks do have quite a bite. They proved to be fun for the whole family, including my 69-year old mother.

3D Printing - Sagan and Sharkz 3D Printing - Dyson and Sharkz


3D Printing - Anne and Sharkz

A fun, quick little tangent.

Print Diary – July 23, 2015 – The Orphaned Swans and the Lost Mobius Strip

One of the things I started designing this summer was for my cousin’s wedding. Like me, he is a computer programmer and like my husband and I, his nuptials also celebrated geek culture. Need proof? Final Fantasy was part of his wedding music and he wore Star Wars crocs during the ceremony.

I had tossed around numerous projects. His wedding was in held in The National Aviary. I love “Hearts in Nature” and have seen stunning photographs of two swans making a heart. It seemed like a perfect thing. I pulled up my Blender and started modeling my swans. My process was very similar to what you would find in
Jjannaway3D’s Modeling A Velociraptor in Blender Series.

3D Modeling - Swan

And then… I had a tough question… “Okay, now what do I make out of these swans?” Napkin rings (and the swans did look great curved)? Napkin holder? Hook for oven mitts?

Then I thought, “Oh, he’s into computers, how about I make them into a USB/Sandisk holder.” But then I closed my eyes and really tried to picture my cousin with these swans on his desk. I just couldn’t see it. I loved the swans– I was happy with where they were going, but they no longer seemed to be a good fit.

What *did* seem to be a good fit was a Möbius Strip. And how cool would that be? A Möbius Strip USB holder! *I* want one! My process of modelling the strip itself was very similar to John Malcolm’s Modeling a Mobius Strip Pendant In Blender 2.73. My cross section was a little more stylized (instead of a straight square). After I applied the Bend Simple Distort, I made placeholder cubes for my USB slots (I did that afterwards as I wanted them to retain their measurements and not get distorted during the bend) and voila! I had my model!!!

All along I intended this to be a Shapeways order, but I decided to give it a go on the MakerGear M2. I printed with 0.25 layers and 30% infill in my fabulous new Mint Turquoise Filament from ColorFabb (via PrintedSolid).

Six hours later, I had my print.

I was really digging the print lines on the top. I thought they were neat and added an additional pattern to the mix.

Holy crap, I thought, Maybe this isn’t a Shapeways order!

Mobius USB Holder- Top

Then I turned it over, removed the supports, and looked at where the supports were.

Yikes— Maybe it *is* a Shapeways order

Mobius USB Holder - Bottom (Before Sanding)

Some quick sanding with 120 grit paper, however, changed my mind completely. I didn’t even get to the 220 or 400 grit. After just that first sanding, my husband and I had to concentrate to figure out which was the top and which was the bottom. AMAZING.

“Where are the ‘after’ pictures,” you may ask. “Document your claim!” You may say.

Well, there aren’t any.

I let my kids play with it… outside…in the yard… where there is all this green shrubbery.

They lost it. Three adults scoured the yard and that Mint Turquoise filament has done an excellent job of concealing itself. Interrogations of the two year old and the four year old, “Do you know where Mommy’s green toy is?” was just as much of a dead end. I suspect it’ll be winter before I find it again.
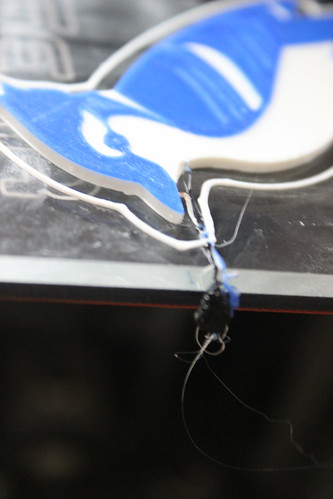
A reprint is in my future (an advantage of 3D printing– you can always print another one). Regarding the reprint, ColorFabb has an amusing suggestion:

Give Up and Use Supports?

I’m a web programmer by trade and back circa 2007 and 2008, Cascading Style Sheets were becoming mainstream… and had their learning curve and their fair share of frustrations. There was a website that poked fun at the struggle of trying to do your page layout entirely by CSS. It was aptly called GiveUpAndUseTables.com. The site is long gone, but thanks to the Way Back Machine at Archive.org, I can still share a visual. They recommended after 47 minutes you:

GiveUpAndUseTables

I was reflecting on my support-free bridging efforts with the Elements of Harmony Dice. I knew the print could be done without supports, which is why I kept up my experiments. But I do foresee sometime in the future, there will be a need for me to:

GiveUpAndUseSupports

Print Diary – July 19th – July 22nd

Quick order of business– in my print diary posts, settings and strategies are not necessary solid conclusions, just a documentation of what I tried and my observed results.

My programming day job was going to be exceptional busy, so I needed some more hands-off experiments. One of the things I covet with my new hoarding tendencies is a rock tumbler to polish my bronzeFill.

“But we have a rock tumbler,” my husband said. He pointed to a free one we got from our neighbor a few years ago. The one sitting on a book shelf in behind a commemorative Star Trek plate collecting dust. The thing is– it’s for kids and not at all like the fancy rock tumbler in the Barnacules Nerdgasm video. And the barrel is tiny!

But I did just splurge on a whole lot of filament. There was no harm in experimenting with this free, tiny rock tumbler. I did have a project that would fit in the barrel. The Elements of Harmony Di.

I designed it for my favorite Brony‘s birthday this past January. It looks amazing in Shapeways’ Stainless Steel.

Elements of Harmony Die - All Faces

Back in April when I first got the MakerGear M2 I had run through several runs and iterations perfecting the Di in Black PLA. I did end with something I was satisfied with. But I wanted to resurrect the experiments with a couple of changes:

  1. Back then I was concerned with the shininess of the bottom layer and how it looked so different from the rest of the die. I ended up using a raft to give it a similiar texture and feel. Don’t need that anymore. If I’m printing in bronzeFill, it’s all going to shine up. This was also back in the day before I discovered how amazing hairspray and the gluestick is. Another reason I can ditch the raft.
  2. Back then I was using Slic3r. I tend to user Simplify3d nowadays. In my experience, I’ve had better results with bridging with Slic3r than with Simplify3d. So my experiments were an ongoing effort to try to improve my bridging in Simplify3d.

Some odds and ends of the past couple of days.

New Slic3r is Beautiful!
I went ahead and used this as an excuse to download and use the new 1.2.9 version. My impression is positive. The new 3D View is lovely, but I’m most pleased to see the new “Layer” and “Preview” views. The Preview view is of particular interest to me as I like to scrutinize print lines and patterns.

New Slic3r

New Slic3r - Preview

Now, I did end up crashing new Slic3r three or four times. My hypothesis is that I was changing multiple settings in a row while it was trying to regenerate it’s previews. That’s not a conclusion– just a hunch.

Cooling, You Idiot!
I mentioned I have had better luck bridging (and sometimes overhangs) in Slic3r than Simplify3d. A few months ago, I opened both and started scrutinized settings and trying to get my Simplify3d to match my Slic3r results. Because I’m anal, I took screenshots and made notes of the changes and why I tried them. Well, I pulled up Cooling and I made NO changes and I wrote down that I had made no changes.

SlicerSimplify3D-8

Back then, I hadn’t realized the extent cooling played a role, specifically in overhangs. I would learn that when I mastered the 3D Hubs Marvin.

I went ahead and made some changes in the Cooling tab:

  • Under Speed Overrides changed Adjust printing speed for layers below from 15 seconds to 30 seconds
  • Under Fan Overrides, I checked Increase fan speed for layers below and changed the seconds from 45 to 60
  • Under Fan Overrides, I checked Bridging fan speed override.

Note– Since my Fan Speed is already 100 for everything after the first layer, I do not expect any change from my Fan Overrides section. (But the settings are in place should I tweak fan settings at a later date).

I have a feeling the Speed Override alone would have made my 3D Hubs Marvin endeavor a whole lot easier. The jury is still out on that, however, as I haven’t tested him out. : )

Simplify3D Bridging Hack
I also have a new version of Simplify3d which I had been hoping would fix a perimeter bridging issue I had noted. Quick tip, if you ever want to see where the Bridging Settings are taking effect set your Bridging Speed SUPER high– like 600%.

Simplify3D - Setting the Bridging Speed Multiplier Super High to See Where It's Taking Effect

Then when you preview your layers, those items are color coded in red and orange. Unfortunately, that revealed that my bridging settings were still not taking effect where I wanted them.

In the case of my dice, I had a lucky workaround. My perimeters of the bottom face were doing okay. It was the infill that was drooping and sagging. There were only two places on the dice considered “Solid Infill”. So I changed my Solid Infill speed to match what I wanted for the Bridging Speed.
Simplify3D - Setting Solid Infill to What I Want the Bridging Speed to Be

And I could see that bottom layer was going to print at a faster “bridge” speed.
Simplify3D - Tricking the Infill Into Bridge Speeds

This doesn’t help with things like the Bridging Extrusion Multiplier, but guess what– in the case of my dice, it was enough! I got my satisfactory results.

P.S. I could have always gone with supports. I was just being stubborn.

So at the end of these experiments– I have a handful of dice to run through our el cheapo rock tumbler. Wish me luck!

Elements of Harmony Dice - BronzeFill Dice and Rock Tumbler

Playing with Shapeways’ CustomMaker Tool

A faux pas I sometimes make is I value my own designs based on how I perceive their complexity. I am continually surprised at how many people delight in the breastfeeding pendant. Now, it did take me months to make, but that was because I was tending to an infant and learning Blender. : ) It’s probably my simplest design… and the one that is purchased most on Shapeways.

This past May, I may have undervalued another design. With graduation season coming up, my Mom suggested we print some little graduation caps for some family friends. I wasn’t too enthused by the items on Thingiverse, so I spent about an hour one Sunday designing my own. I added a little bit of personalization to each cap by adding the graduate’s name on the top. In my mind– pretty simple. Hey, I did it AND ate a waffle at the same time. I didn’t even consider uploading it anywhere.

Grad Cap

But it turned out the little caps were well received, particularly with one high school graduate…whose friends suddenly wanted their own (two days before graduation). I just did not anticipate such a simple design would provoke such interest.

Last week, Shapeways announced a new pilot feature– the CustomMaker. I had set up personalized products before with Shapeways (School Bus Wine Stopper, Cancer Ribbon, Woven Heart Ornament). Previously, it was a fairly involved process where you would set up what variables you wanted to prompt the customer for. The customer would submit those details with the order. You’d manually make the model and upload it back up to fulfill the order.

CustomMaker automates that process– it modifies the model for you. Not only that, it’s much easier to setup and gives the buyer instant previews of how the product will look!

And I had just the model to test out the new feature! So this past Sunday (after eating waffles, it’s our Sunday tradition), I tried my hand at setting it up. It was super easy.

You can add a Text Box and/or an Image Box (where the customer can upload an image) to your model. You get to drag and drop and resize as needed, pick whether you want it engraved or embossed, and you get to pick the size of that detail (I went with 0.5 mm)

Shapeways Customizer

If you have a hard time visualizing or decided between engraving and embossing, you can click on Preview Settings.
Shapeways Customizer- Preview

The top of my graduation cap is angled. I was curious to see what the text would do about that. I was delighted to see the feature was smart enough to angle the text so it was flush with the top of the cap.

Shapeways Customizer - Angles Text

Then you simply Save Changes are you are ready! When the customer comes to my graduation cap page, he/she can fill in the text and the preview on the screen refreshes right away. With CustomMaker, the guess work is eliminated. The customer has an immediate feel for what he/she is ordering.

I went ahead and ordered one to try it out. It turns out, there was one very special grad I overlooked in June. I owe him a gift card… and a little cap to boot.

Shapeways - Customizer - Ordering

Wanna Learn More?
Check out Shapeways’ Getting Started with Custom Maker Tool Tutorial

Blogging the trials and successes of 3D Modeling, 3D Printing…and trying to make a business out of the whole thing. : )