This morning I caught up on a few things for my Etsy site. New listings now available for perusal:
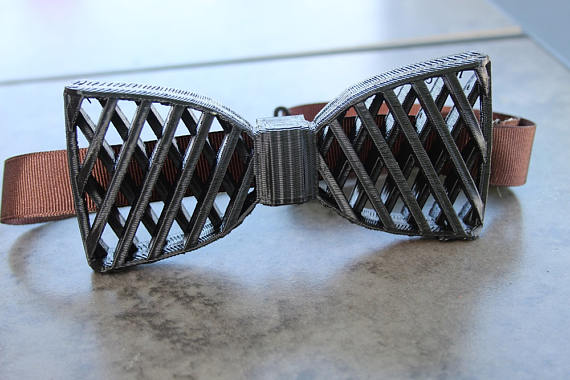 |
Black 3D Printed Bow Tie A few months ago, I got a rushed custom order from someone looking for a Black Bow Tie for a wedding. They had a good idea and I’ll make sure to keep a black “tuxedo-ready” version in stock for the future. |
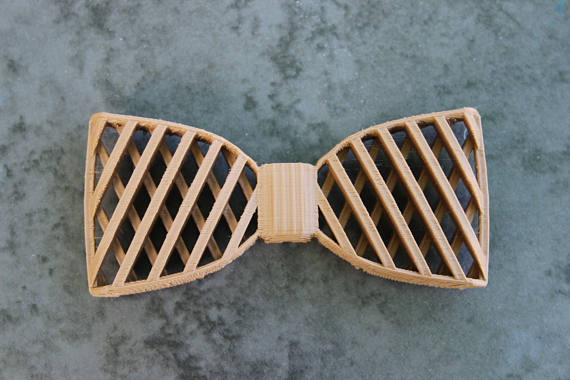
| Brown, Wood-Like Bow-Tie I inadvertently discovered the Brown Plastic version of the Bow Tie looks just as good as the Wooden One. Since this material is a little less finicky, I can offer it for a lower price than the full blown wood… just in time for Father’s Day! |
 |
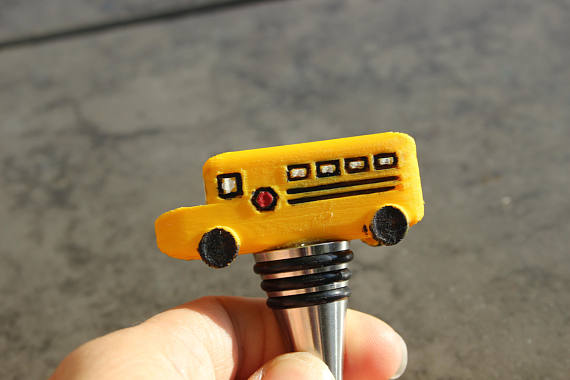 |
School Bus Wine Stopper A great gift for your favorite retiring School Bus Driver! After about a dozen custom orders, I decided to finally list my School Bus Wine Stopper up on Etsy. |
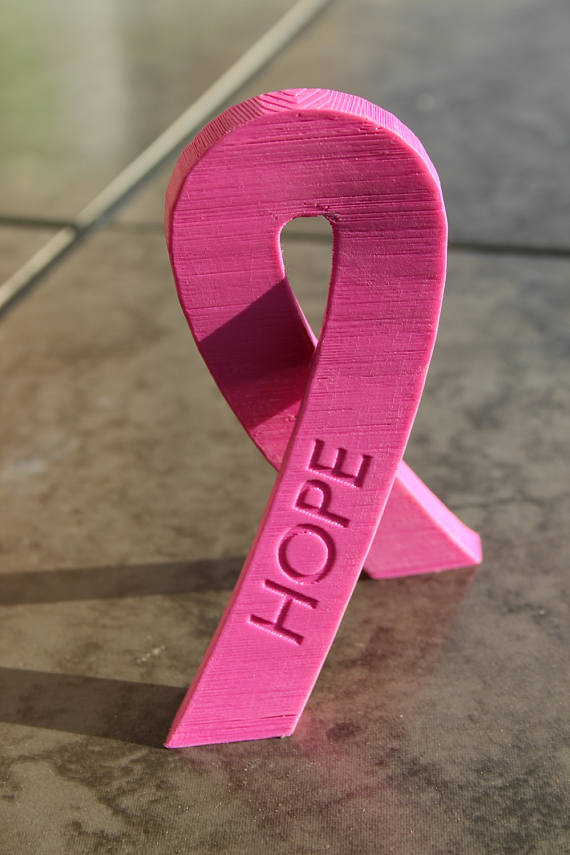
| Standing Cancer Ribbon This is another one where custom orders have enticed me to make an Etsy listing. The Standing Cancer Ribbon can be customized in color and inscription. |
 |