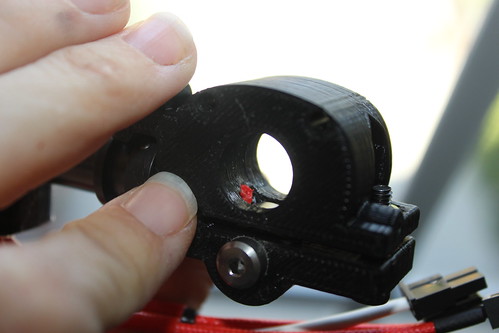
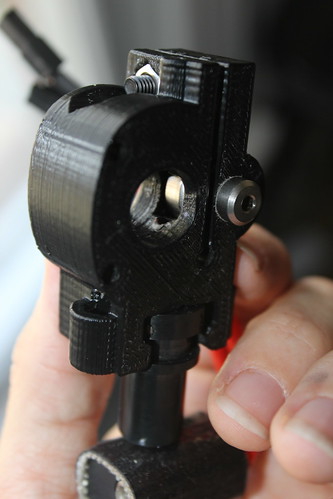
Internet, get this– I fixed a filament clog all by myself. Thanks to our recent maintenance, I’m become more familiar and, dare I say, more comfortable with some of the parts. And it’s a good thing because yesterday I got my very first extrusion clog. I took off my fans and filament drive and discovered the issue– there was a big blobbie (that’s the technical term) of red filament in the bottom that wasn’t supposed to be there.
Commence Googling
Well, dude, my first round of searches brought forth a bunch of scary things. People saying stuff like using a drill bit to clear out the clog.
“Holy crap, am I going to have to use fire?” I thought, thinking about 3D Printing Nerd’s latest debacle.
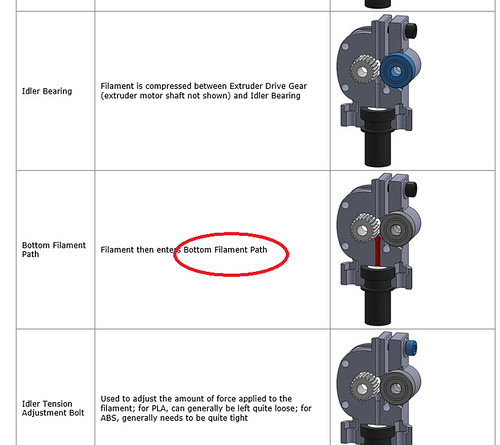
But there is a lesson here, my friends. It really helps to know the exact terminology when you are doing Google searches. After referring to the MakerGear M2 Extruder documentation, I had a better description of my issue. I had a clog at my “bottom filament path”.
That produced more meaningful (and less scary) Google results. In particular, I owe a hat tip to Dale Reed in this MakerGear User Forum thread.
…see if you can get some fine needle-nose pliers to pull up any remaining filament in the bottom of the filament drive (if it’s sticking up out of there).
Needle-nose plyers didn’t quite work for me. But, I was able to stick the very tip of an Exacto Knife underneath the red blobbie (again, sorry for all the technical terms). And POP! Just like the Hungry Little Caterpillar and his egg, my obstruction popped right out with no force at all!
YAAAAAY! I put everything back together with my trusty Allen wrenches and printing resumed.


