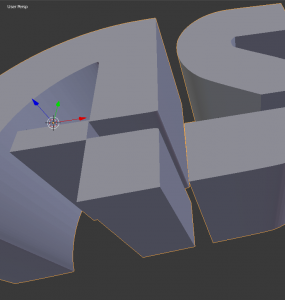
Despite some earlier blog posts on the matter, I have become fond of using Inkscape to make SVG files for my 3D Models. (My breakthrough came when I started saving as a “Plain SVG” format instead of an “Inkscape SVG” format).
I figured I should document my process at pulling and prepping those files in Blender.
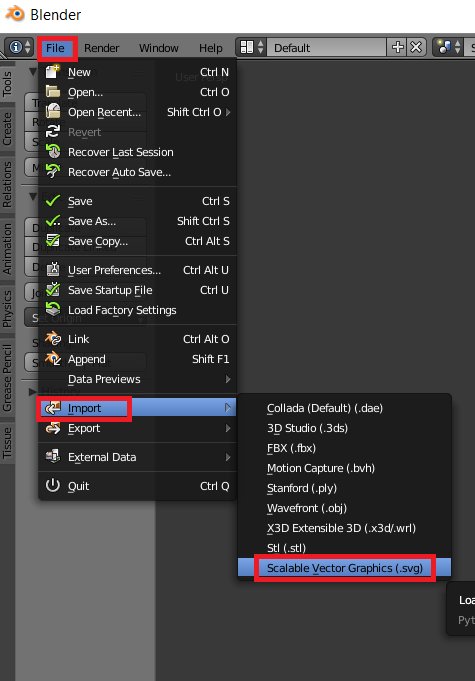
- Import the SVG file. File->Import->Scalable Vector Graphics (.svg)
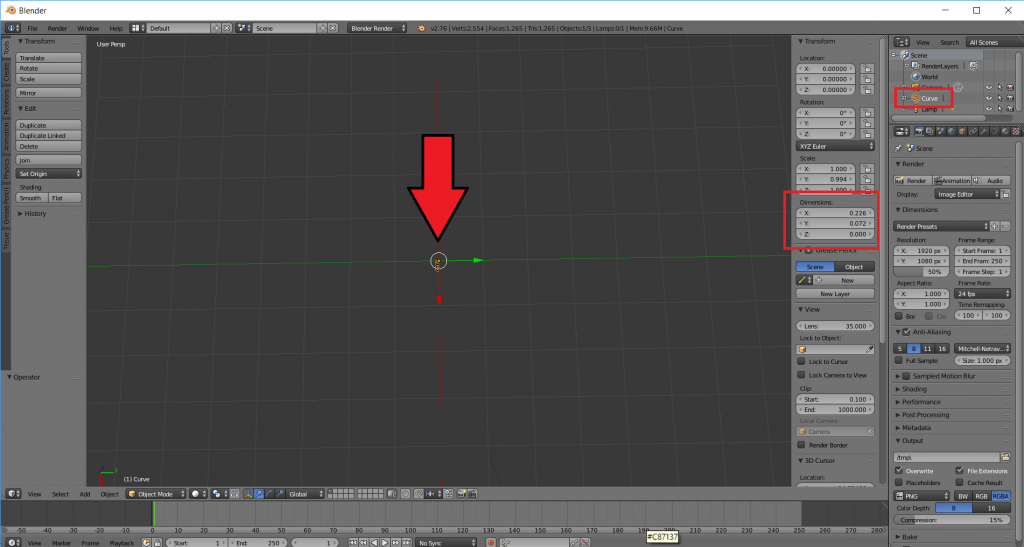
- It looks like nothing happened, but your SVG is there. It’s just really really really small. If you look to the right in your Objects listing, you can see a new “Curve” that was not there before.
- Resize the object so you can see it better.
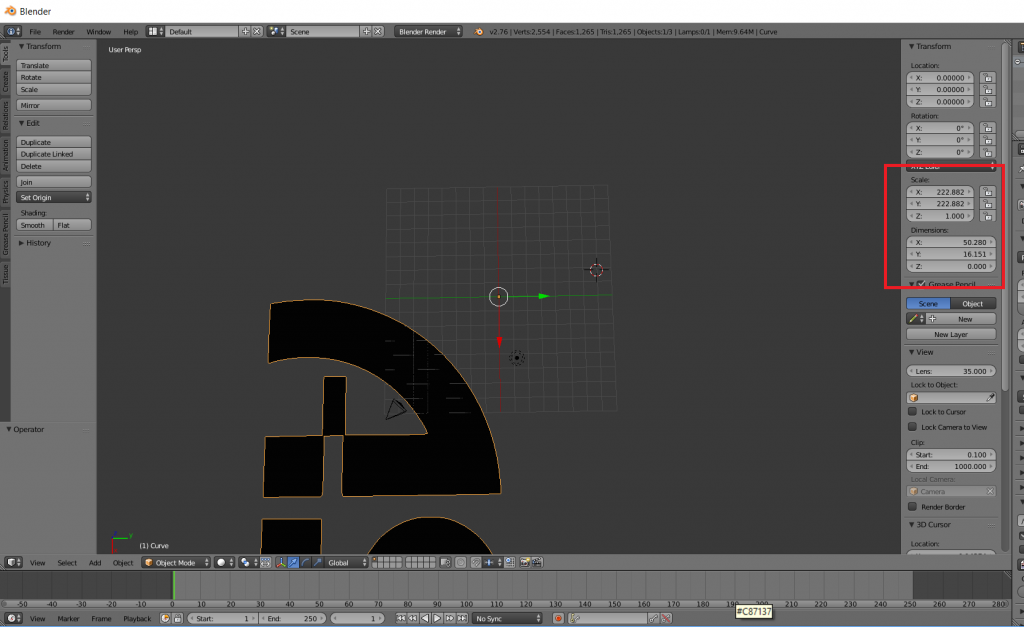
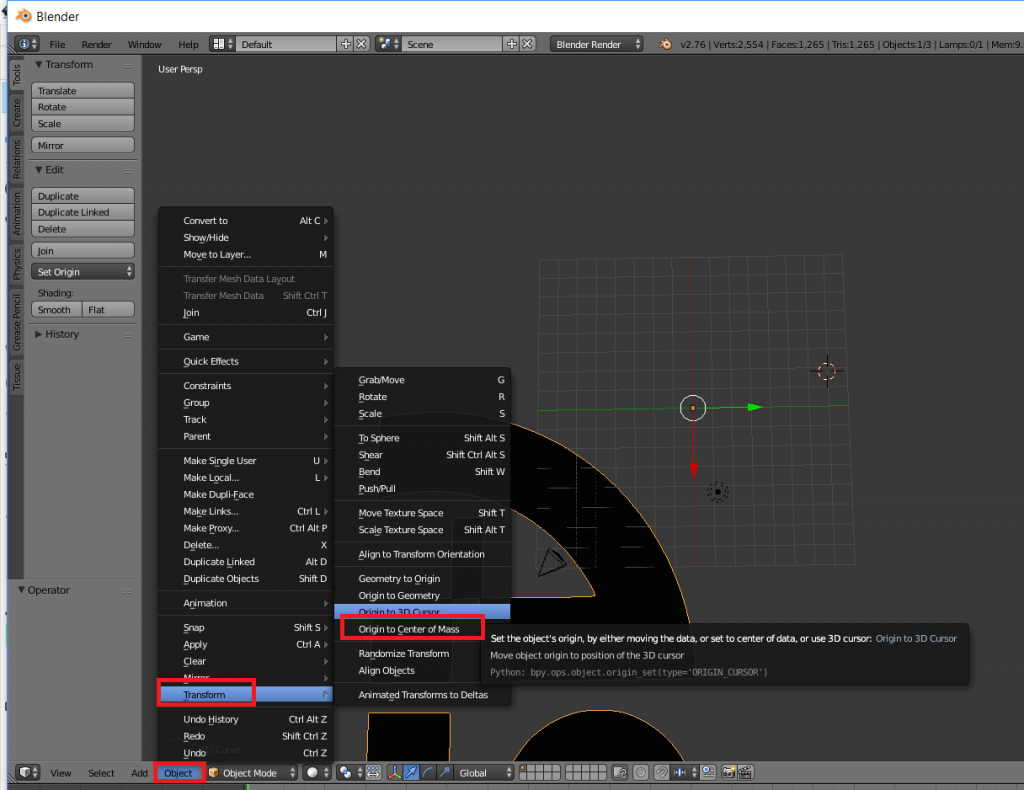
- Sometimes resizing it takes it off the screen and the Object’s Origin is not very intuitive For that, I change the Object’s Origin to the Center of the Mass. I do that by going to Object->Transform->Center of Mass
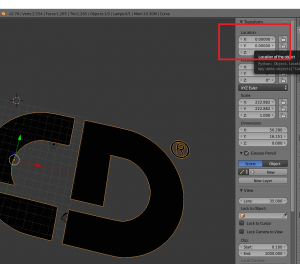
- Then I can change all the Transform coordinates to 0,0,0 to center my new SVG
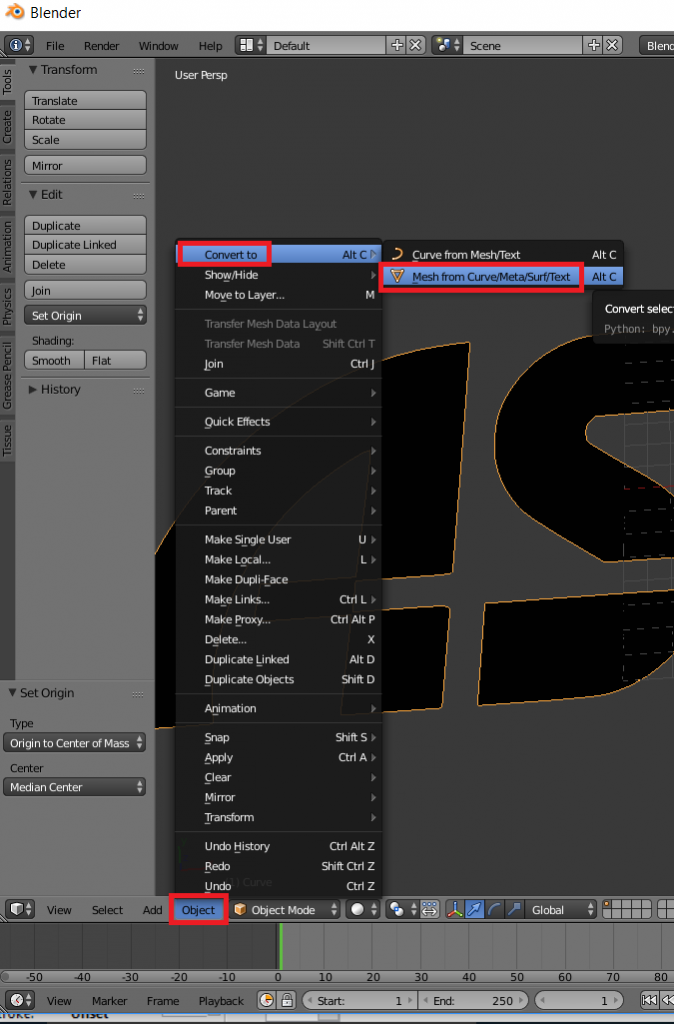
- SVGs pull in as Curves. You’ll want to convert it to a Mesh before doing anything with it. You can do that by going to Object->Convert to->Mesh from Curve/Meta/Serf/Text
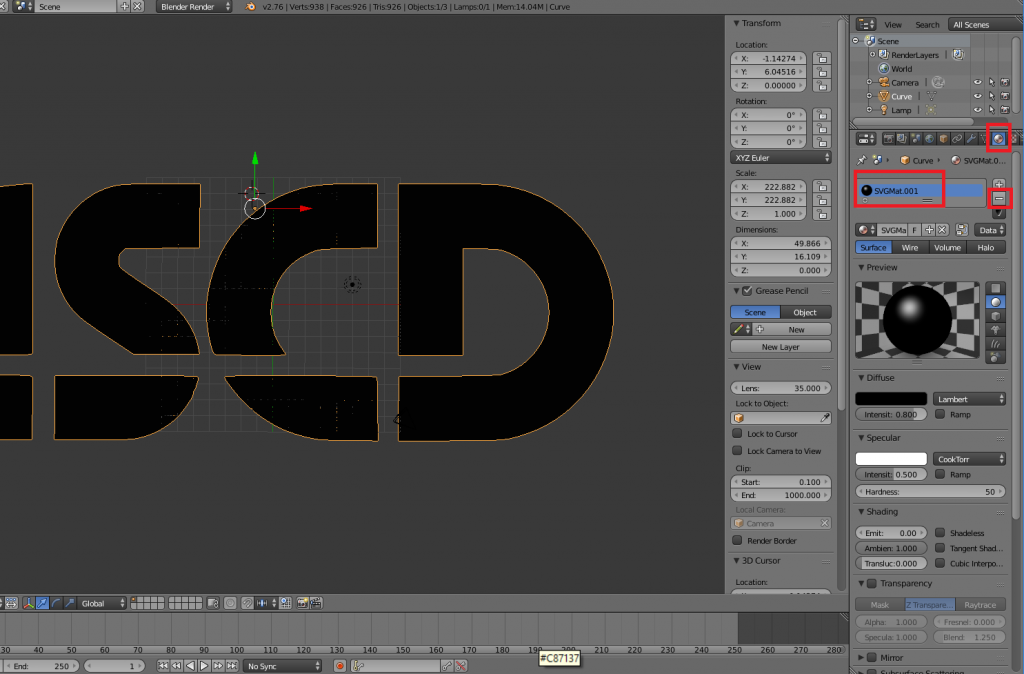
- OPTIONAL – Get Rid of Black Color
When I was new to Blender and Inkscape, I could not figure out why my Inkscape SVGs were all black… and I just did not know enough to find the right keywords to Google. Later when I learned about Materials, it will started to click. The SVGs import in with a Default Material. If you want to get rid of that, click on the Materials icon for your object, click on the black material and hit – to get rid of it.
- With your newly converted Mesh selected, switch to Edit mode.
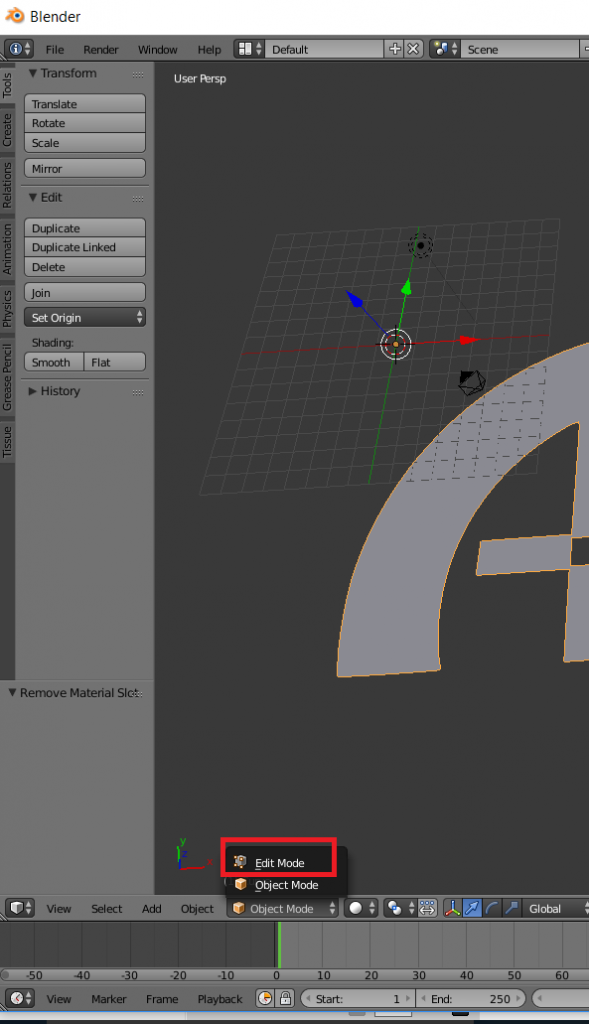
- Click A to select all vertices.
- Go to Extrude->Region to give your 2D Object some Depth. If you can you the mouse to size or type in a measurement– for example 0.5 for 0.5mm.
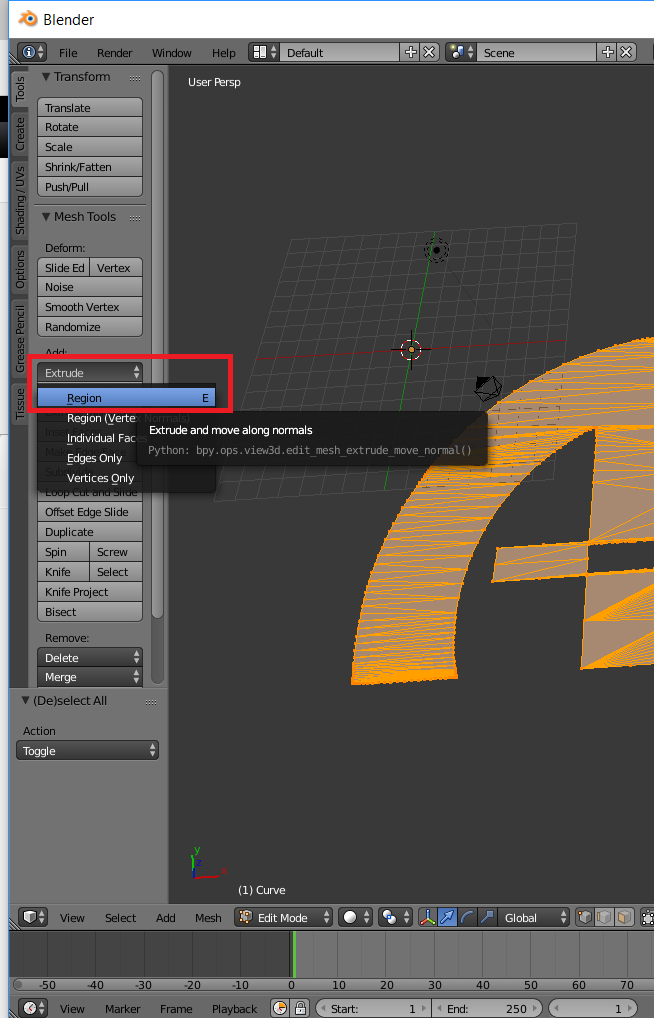
- And then you have a 3D Object in Blender from an SVG file.
