
M2 Lubrication
Today I did something scary (for me). My comfort level is more in the modeling and the software side, but the MakerGear M2 was due for some monthly maintenance. According to the documentation I received with the printer, I needed to:
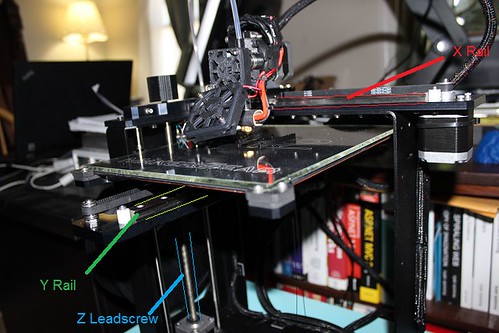
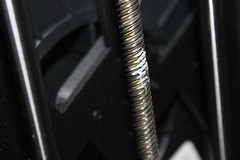
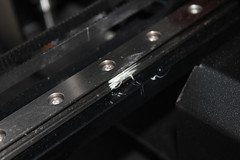
Clean the X and Y linear rails, and the Z leadscrew, of grease, then apply a fresh coat to each – a dot of white lithium grease in each of the long grooves on the X and Y rails, and a dot in four consecutive troughs of the Z leadscrew; once applied, move that axis through its full travel multiple times to spread the grease.
Okay. So first step. I needed to confirm what I thought was the X and Y rails and the Z leadscrew was accurate. With that, I did some poking in the M2 Assembly Instructions. My conclusion seemed accurate (I’m happy to consider evidence to the contrary).
The M2 What’s in the Box manual that shipped with my printer helpfully had pictures of the Lithium Grease and the Applicator, so I knew exactly what supplies to use.
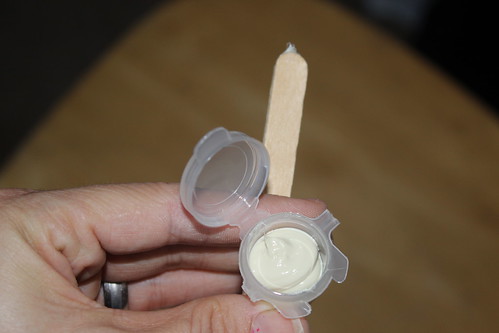
I did my dabbing.
|
 |
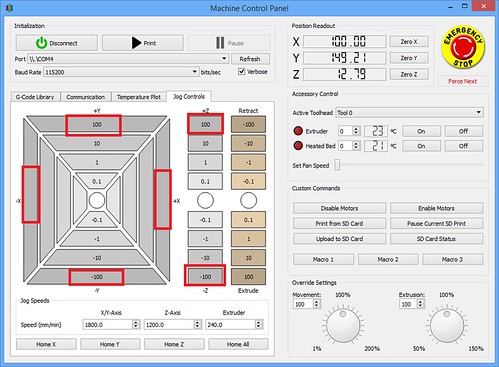
Then I opened my Simplify3D, went to Tools->Machine Control Panel and then clicked on the Jog Controls tab. I used the various X, Y, and Z movements to move the printer around to spread the grease.
It turned out to be pretty easy and not very scary at all.
Cardinal Progress
I did a test run of my two-color Cardinal. With a item like this, the point of focus is going to be on the top, so when I slice in Simplify3d, I give some scrutiny to the my top level (As opposed to say a 3D scan of a person– there the top of the object isn’t the center of focus). I noted with my cardinal there was an oddity in the top.
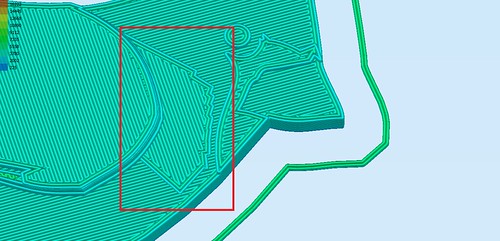
Even though that section was going to be all red, I didn’t want that odd texture in the mix. I wanted a nice, smooth surface for viewing pleasure. I’ve seen this issue before and I knew what I was up against– I didn’t have a completely flat surface where I wanted one.
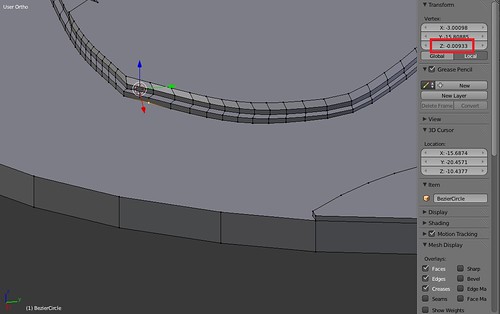
I opened my modeling software back up (Blender) and the issue was I had a number of vertices that weren’t exactly the same as the others of that level. In the example below -0.00933 instead of 0. This caused the surface to not be exactly flat and when it came to slicing time, the printer has to translate that into layers. To adjust for the non-flat surface, part of the cardinal’s chest did not go as high as everything else.
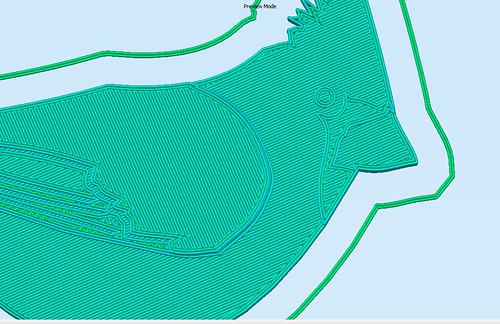
I adjusted my vertices to make them exact and make a nice flat surface. When I sliced again you can see the difference.
My test print is coming along. The cardinal is cute, though this doesn’t represent my vision. He’s supposed to have red on his wing with just snippets of black poking through. I had a lapse of concentration during the last filament change to red and ended up mucking up the exchange by going the wrong way on the Z axis.
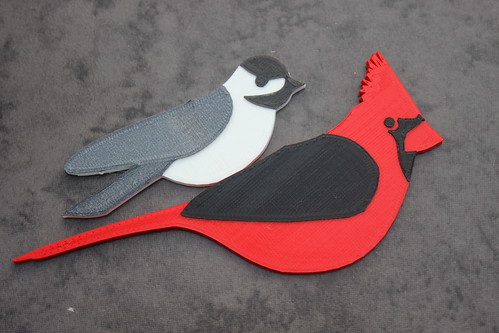
The Chickadee and His Friend
Live and learn! Tomorrow is another day and another print. : )