
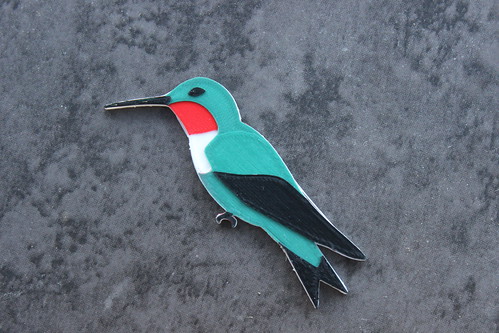
Ruby-throated Hummingbird
On Tuesday, I welcomed Archilochus colubris (Ruby-throated Hummingbird) to my 3D printed aviary. He was designed in Blender (based off a Creative Commons photo by my husband) and printed in the MakerGear M2. I used four different Simplify3D processes to print four colors– White, Traffic Red, Mint Turquoise, and Black.
Overthinking the Color Order
Originally, I was printing Red, White, Green and then Black. My thought process was I wanted that White directly underneath the green, so it could be as bright as possible. I was worried if I printed green right on top of the red, it would appear brown.
So I did Red, White, Green and Black…. and I found myself very distracted by the Red outlines to the whole bird.
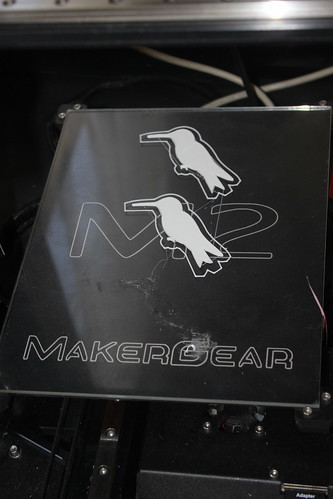
I switched them up. I printed White, Red, Green and then Black. With the first layer, it does look like my worse fears are realized– the bird is a pretty icky brown.
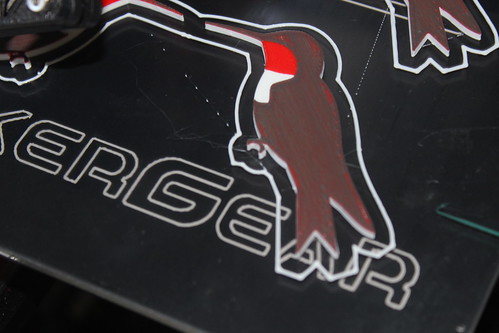
But I have four layers of green (at 0.10mm each) and by the time it finishes all those layers, the green layer looks just as green as it does over the white. It made no difference whatsoever… for my ColorFabb Mint Turquoise. It is possible my translucent filaments from MakerGear (Grey and Orange) may be a different story.
Multi-processes to the Rescue!
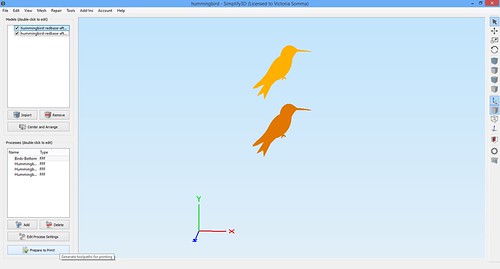
I discovered that running Simplify3D’s multiprocesses one at a time are good for more than changing colors. It does give you an opportunity to recover should a mishap occur. In this case, one of my hummingbirds came unstuck to my bed. My attempts to glue stick him back on failed, so every time my extruder hit that blank spot it was making a nice spaghetti mess of filament (Side note– it is impressive to see how little filament actually goes on a layer– no wonder why my filament spools last forever).
Luckily, since I was running multi-processes, once my base layer of White finished, I had the opportunity to go into Simplify3D and remove the troublesome hummingbird (being VERY careful not to hit that Center and Arrange button). I exported my new processes to my SD card and that allowed me to not have to waste any more time on the MIA hummingbird.
Occoquan Craft Fair Preparation
I also got my application in for the Fall Occoquan Arts and Crafts Show on September 26th and 27th! I’m hoping to be their inaugural 3D Printing booth. Although I have no reason to worry about my acceptance into the show, meh, I still do worry a little bit, so I’ll be happy to hear back from the show director.
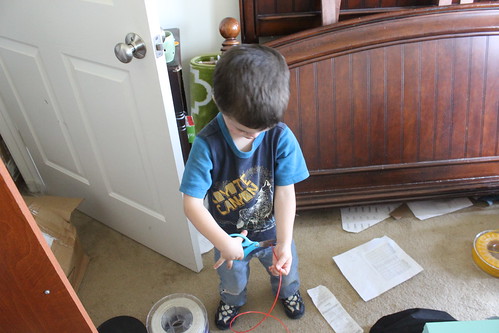
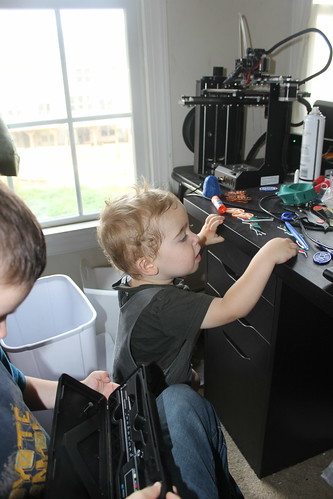
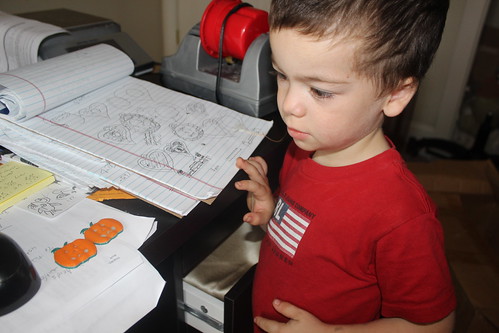
In the meantime, we are still preparing. My entire family is pitching in. Ryan is locating a tent and table and getting us a credit card processing solution. My brother, a small business owner, has been helpful in the business side of things. My Mom, as always, is a huge asset. Even my children are helping! They help with “Market Research” and young Sagan has mastered preparing my filament for color switches. : )
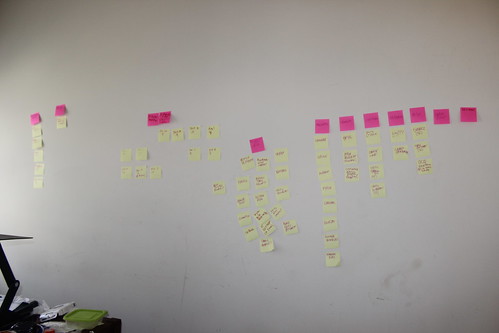
On my end, an entire wall of my office is covered in Post In Notes of ideas and action items. My evenings are spent modeling and slicing, so I can make sure the MakerGear M2 has stuff to do while I work during the day.
And our dining room table is currently a staging area of potential products.
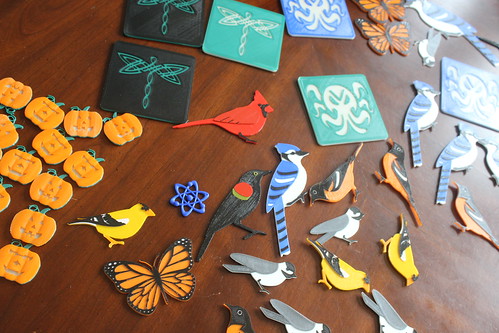
It’s going to be a busy fall. 🙂