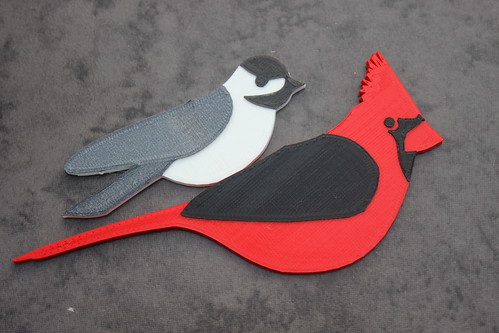
Victory with the Monarch Butterfly
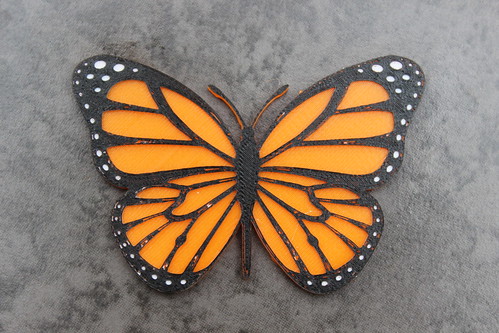
As I mentioned yesterday, I was having some trouble adapting the Public Domain Monarch Butterfly model by Liz Havlin. Although I have been 3D modeling for about 18 months, I was having some trouble achieving what I wanted– I wanted the holes of the butterfly to not be holes. I wanted the sections I wanted to be orange to be 2mm high and the sections I wanted to be white to be 2.3 mm high.
Unfortunately, I was introducing all sorts of manifold issues along the way. One day, I may look back on this and laugh at myself and my “silly ways”, but for now here’s what I ended up doing that actually worked for me.
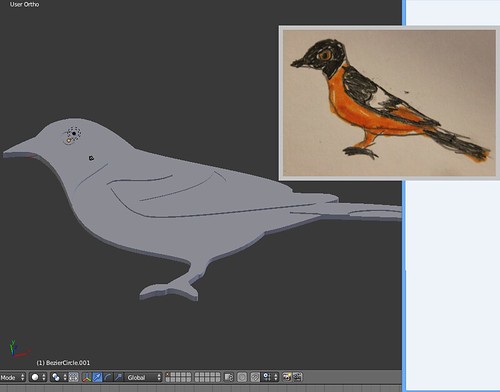
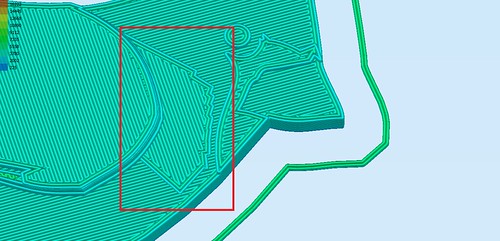
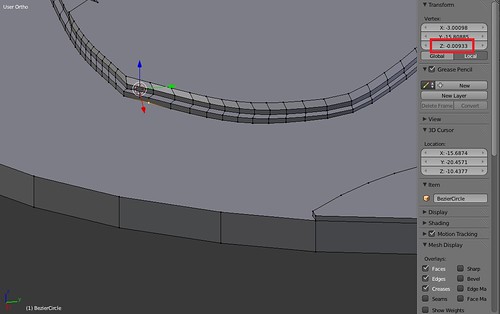
I was able to easily make a solid butterfly that I extruded up to 2mm high– so I had my orange all set. For the white, I:
- Highlighted the vertices of the hole I wanted to fill.
- Hit the Duplicate button to make copies of those vertices.
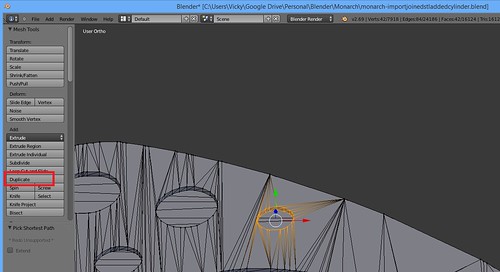
- I hit escape (those new vertices were selected).
- Then I went to Mesh->Vertices->Separate->Selection. This move those vertices to their own object, which I filled in as a face and then extruded up 0.3mm.
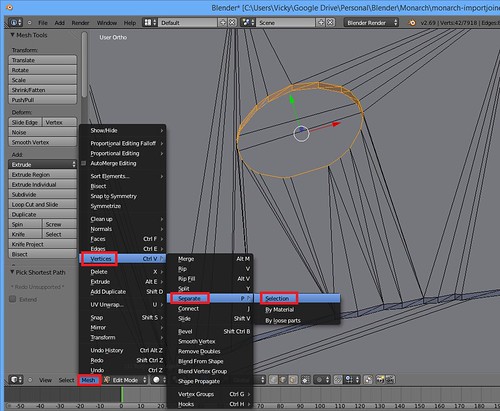
- I ended up with a bunch of 0.3mm high cylinders that I added to the solid butterfly (that was 2.0 mm high) and the hollow butterfly which was 0.7 mm high (making my black outline 0.4mm high)

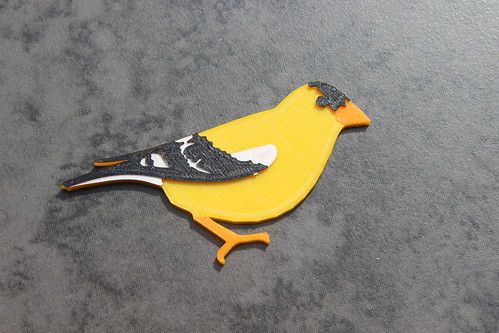
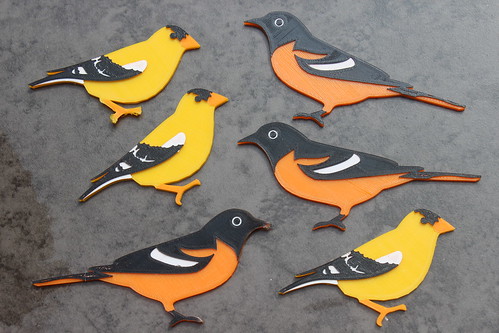
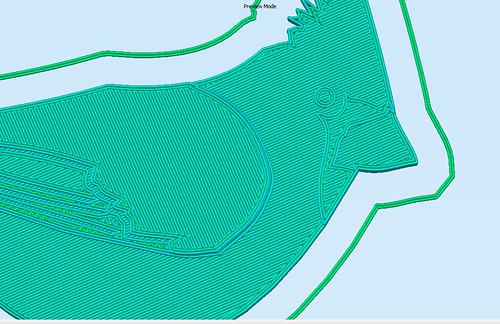
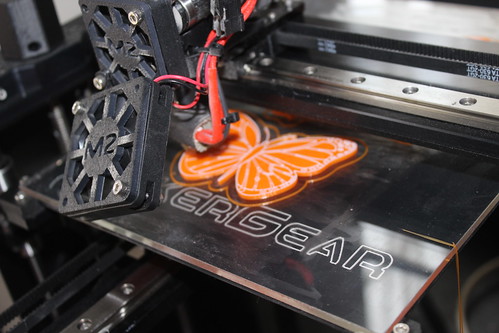
The colors are in the same height and order as the Baltimore Oriole (Orange – 2mm, White 0.3mm, Black 0.4mm), so I can print butterflies and orioles together.
Again, with future modeling knowledge I may look back and scoff at my approach. Nonetheless, I have my butterfly… and he’s beautiful!
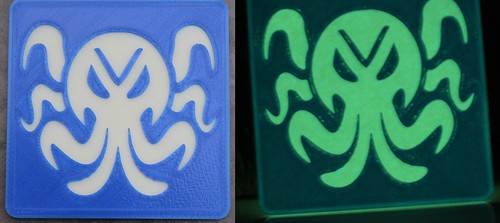
Glowing Cthulhu Coaster
Another project I tackled was a lot easier. I have a little Cthulhu cutout I modelled for my “Glowing Cthulhu Pumpkin” on Shapeways.
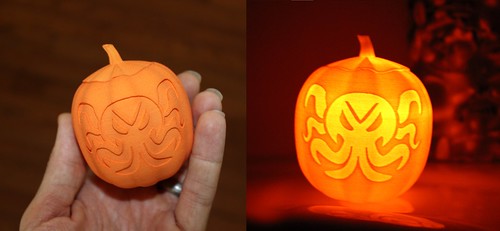
In the case of the pumpkin, an LED inside provides the light. I decided to see what ColorFabb’s GlowFill could do. I went ahead and took that same cut out I drew and modelled and carved it out of a small beveled cube to make a coaster. I printed the first 2mm in GlowFill and then the top in a solid color. I am pleased with the result. Not only does Cthulhu glow, but the border around the coaster glows as well. A win.