
Watch or Listen to This Blog Post Above
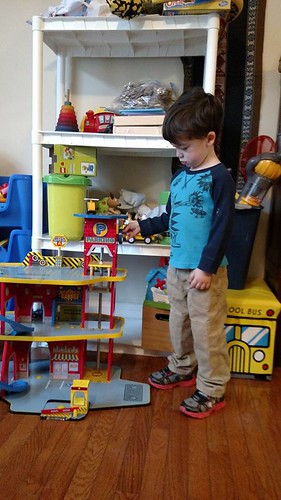
For Christmas, we got a hand-me-down KidKraft Deluxe Garage Playset.
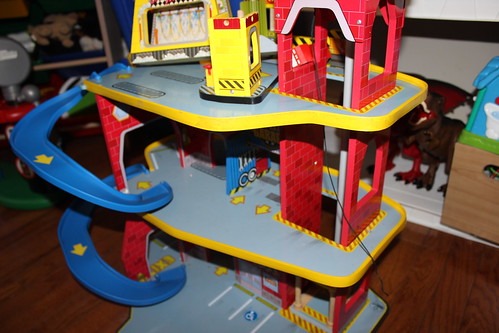
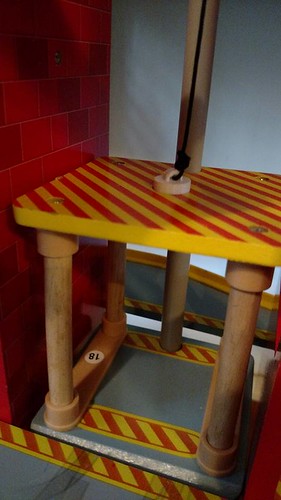
Wonderful! There was only one minor issue– it was missing some kind of piece at the top of the elevator. As a result, the elevator did not go up and down. This caused some discontent for my two year old. At first, I would tie a toothpick at the end of the string and that would allow him to raise and lower the elevator for a while… but it frequently came undone. I thought, “Hey. I have a 3D Printer. I had TinkerCAD. I can do a lot better than a toothpick.”
One Saturday morning, the kids and I did just that. Our first step – calipers, which both children love to play with.
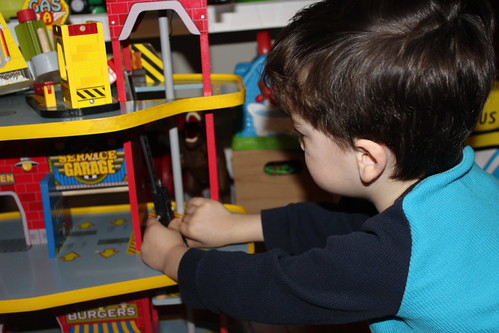
I…uh…. I retook all the measurements for myself after they were done.
Then we pulled up the free and web-based TinkerCAD. As you may know, I do a great deal of modeling in Blender. I have found the colorful interface of TinkerCAD to be much more conducive to “keeping the attention of my kids.” In this case, they sat in my lap and we modeled it together.
The Model
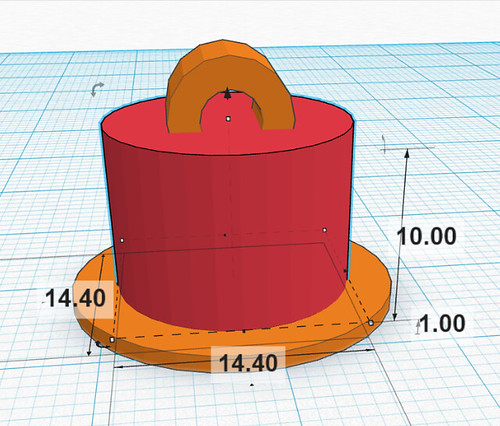
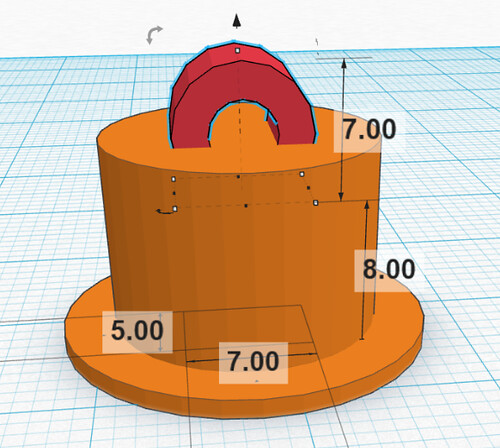
This was a very simple design. We just had three pieces:
- A cylinder that I sized to the exact width of the hole we measured in the playset. Usually I put in 0.5mm clearances, but for this, I wanted a snug fit. It would even be okay if I had to force the part in.
-
There was also a second flat cylinder in the bottom. This was to make sure we couldn’t just pull or push the part all the way through the hole.
-
At the top, I used a tube. I used the Rotate handles (the little arrow icons) to rotate the tube 90 degrees.
Tip– If you hold down the Shift key while you rotate, you can rotate at 45 degree intervals.
Tip: Since I was working with exact measurements, I dragged a Ruler object to my Workplane which allows me to type in the dimensions of my parts.
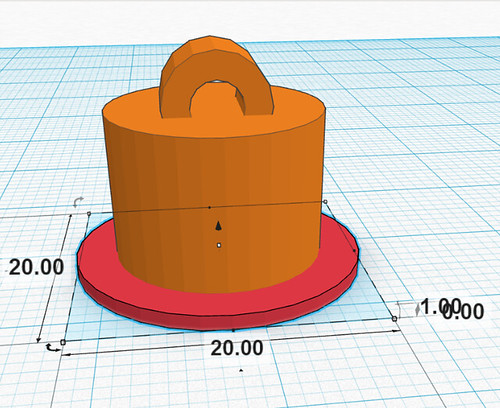
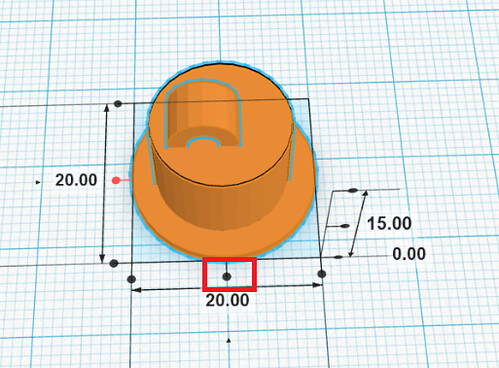
Once I had all the parts on my workplane, I selected them all and went to Adjust->Align…
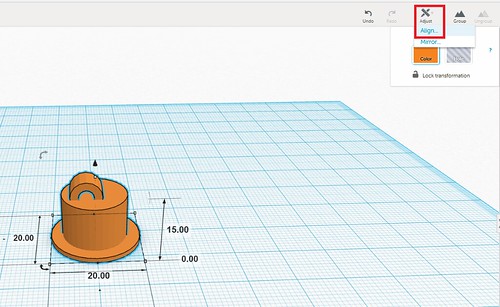
This allowed me to center them all with each other.
Moment of Truth
We made pancakes while the part printed and then we had a moment of truth. I was happy to discover our calipers did not lead us astray, the part fit AND the elevator worked.
Between the pancakes and this toy fix, it was a very productive Saturday morning. My Mom self esteem was at an all time high. Don’t worry– I was back to normal by the afternoon (after unsavory Mom tasks like “saying No” and “wiping butts”). : )
P.S. If you happen to have a KidKraft Deluxe Garage Playset in the need of the same part, it is free for download and use on TinkerCAD!
Nice work!!