Tethered by Filament Change
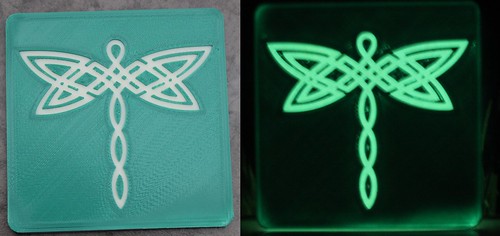
First thing in the morning, I started a print run of some coasters. This time I was etching in this lovely Creative Commons Celtic Dragonfly by blah_59. After the first 2 millimeters, I was going to change colors for the top. It was after the print I realized……
Starbucks Day
On Fridays, I usually take my kids out to breakfast at Starbucks. The timing of my filament change was totally going to muck up Starbucks Day. I wanted to be around to pause my print and switch colors.
Compromise. My oldest son and I ran to Dunkin Donuts and picked up a special breakfast and brought it home. I was deprived of my weekly Flat White, but boy, the kids didn’t care one bit. They loved eating Dunkin Donuts on the deck.
All was well and I ended up with my glowing Celtic Dragonfly Coaster.
But it was a sign that I needed a better process. I’m a working mother. It isn’t going to be sustainable for me to be tethered to the printer waiting for the exact moment to change my filament.
3D Printing Nerd to the Rescue
I thought my solution was going to lie in adding custom G-code, but it turns out I don’t even need to do that! I just so happened to watch the latest video from the 3D Printing Nerd that very same morning. He also does a lot of creations by switching filament colors and he also uses Simplify3D. I mentioned yesterday and we saw it before with some experiments with the cardinal wing that I do use multiprocesses to change my settings for different sections of the print. Well, I never thought about the implications of running those multiple processes one at a time. I had always let them run as a single print run, meaning I still would have to monitor and pause my print when I wanted to switch colors.
The 3D Printing Nerd’s video showed me to run them one at a time. So when the printer finishes one color it stops and then waits for you to take the next steps…on your time.
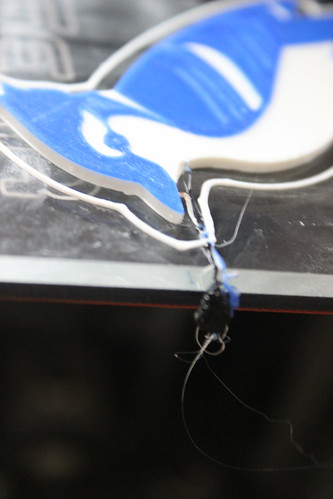
I gave it a test run on my new Blue Jay (Cyanocitta cristata). It worked splendidly. I ran the white. I ran the blue. I ran the black. Wonderful! This is just what I needed to keep my sanity and prepare for the Occoquan Arts and Craft Fair.
I did notice one tiny best practice for the future. When I start a new color, the print runs through it usually start up process (which I can change if I want). It squirts out some plastic off the side of the bed and then it swipes the nozzle clean on the bed. When I ran a bed full of bluejays, I did notice I put one a little too close to that swiping action. He was just barely getting knicked by the nozzle as it passed by. So either I not place things that close to that section… or I change my start up G-Code.
I’m really excited. A HUGE thanks to the 3D Printing Nerd for helping me improve my process. It’s really going to help as my collection of birds continues to grow!


